(3) Deploy and Run the App
- Support Ticket Tutorial -
The data structure and UI are ready.
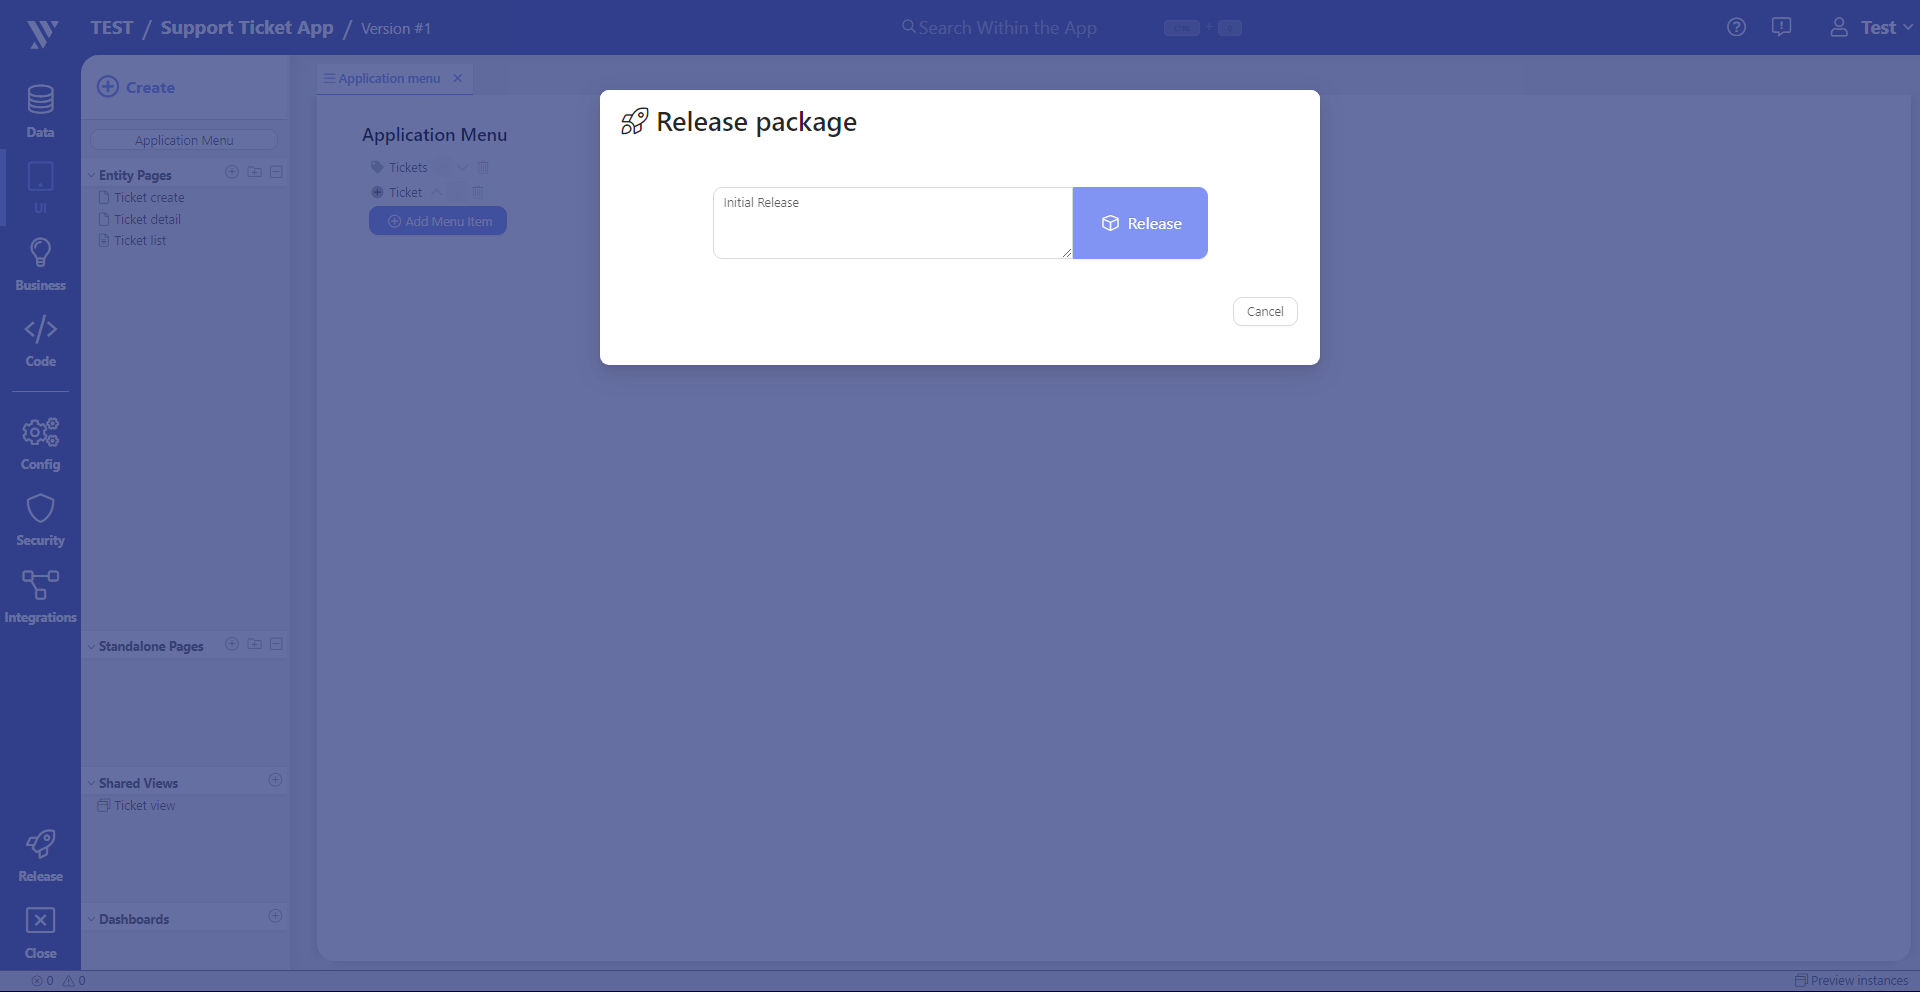
11. Release your Application
The initial release of your app establishes the preview and actual iterations. Subsequent releases are updates.
- On the sidebar, click
Release - On the Release dialog, type Initial Release
- Click
Release - Click
Continueto return to the App Builder Editor page
12. Access the App
Now let’s go to the App Overview to see how the app looks. At the bottom of the sidebar, click Close
You likely already have a Development Instance for this app so you can skip Step No. 13.
13. Development app
- Click
+ Create Instance - On the Create New Application Instance page, set
Instance Nameto: Support Ticket App - DEV - Verify that
Application Versionis set to the most recent release - Verify that
Hostingis set to: Jetveo Cloud - Verify that
Application Typeis set to: Development.
This will create a Development version that can be used for testing. Later you can create a Production instance with full-scale user management. - Development version has only one
Authenticationoption: Jetveo account - Click
Create
14. Start application
- If the application is not yet running, click
Starton the instance. It will take approximately 10 seconds.
You’ve created your first application. Now check it out.
Login Credentials
Go to the Onboarding App Dev Instance overview.
- Click
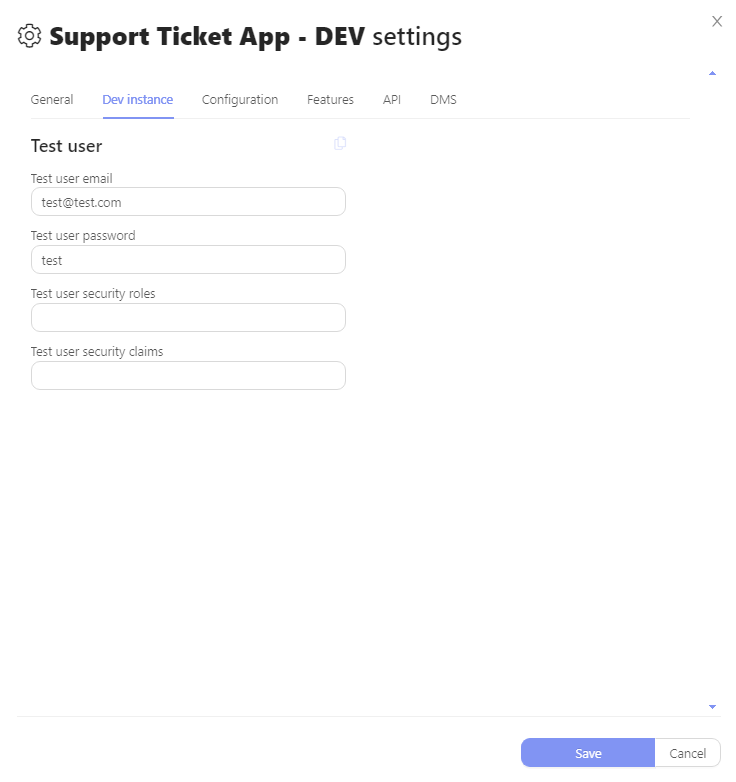
Settingsto open the Application Instance Settings page. - Click the
Dev Instancetab. This will provide the Test User Email (i.e., test@test.com) and the Test User Password. Copy the password or change it to something memorable. - Click
Save
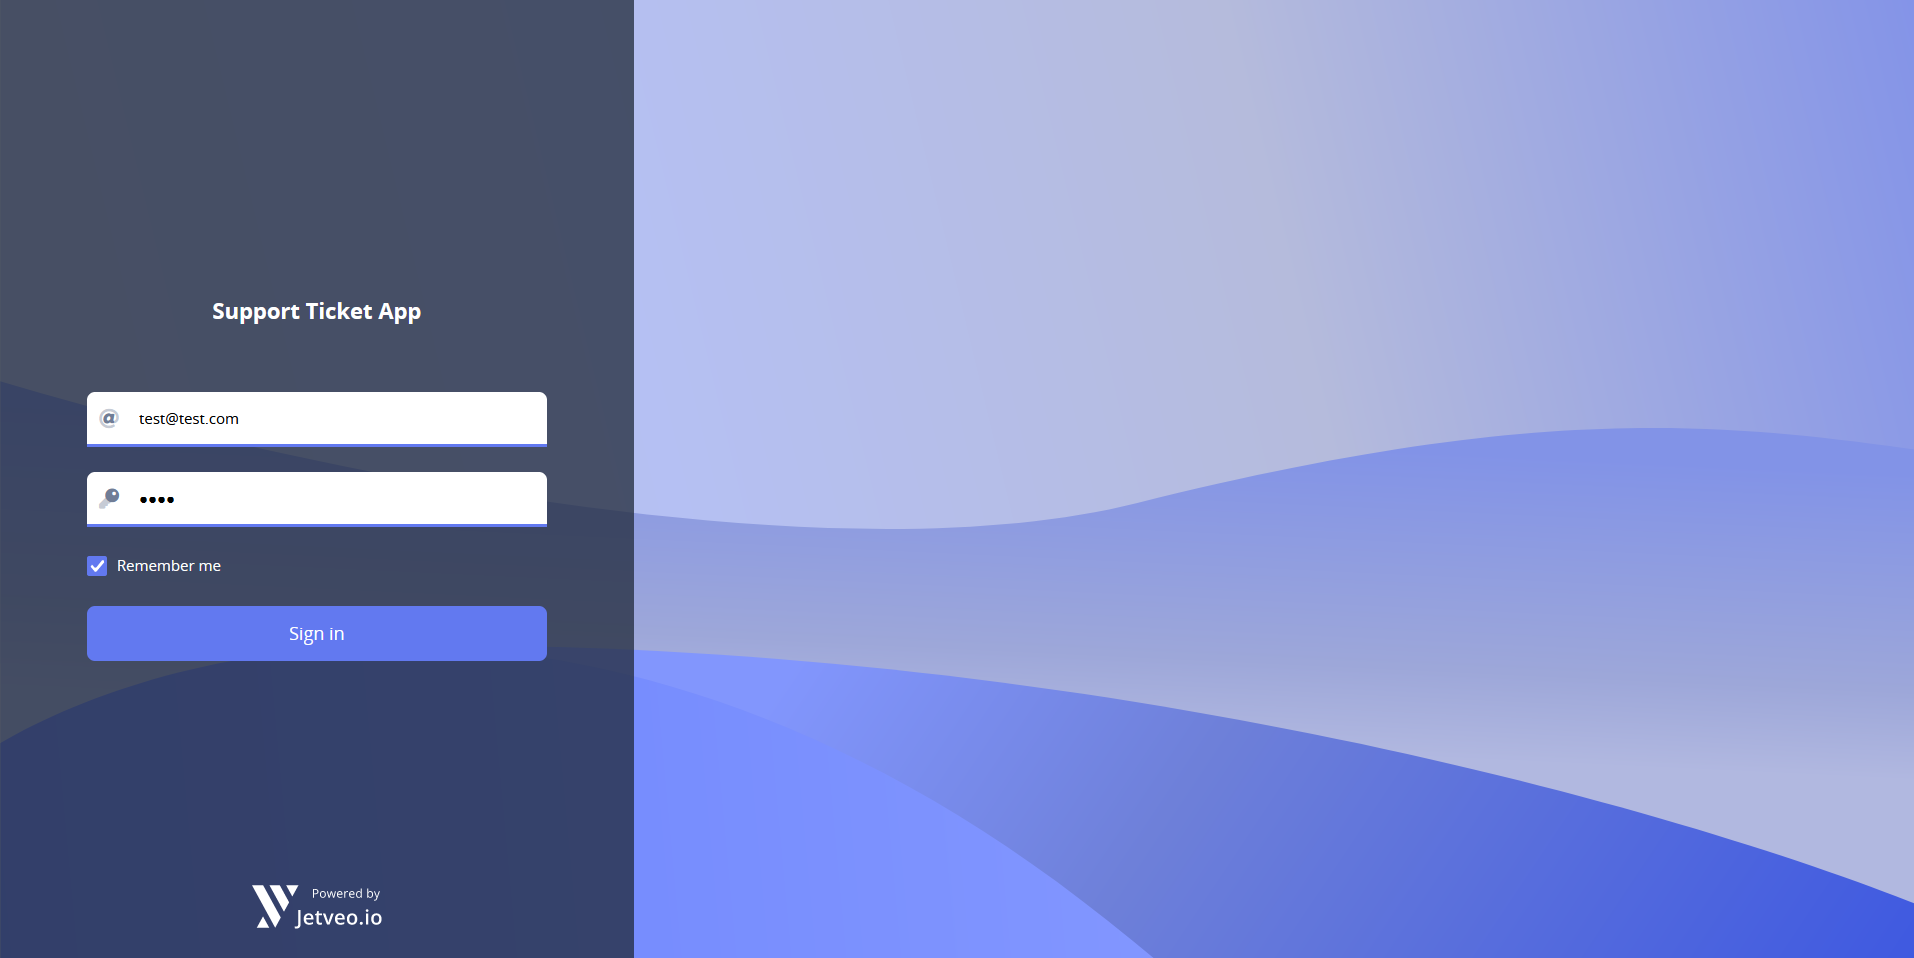
Open the App Instance

Make sure the current version of the app is running. If not, click Update app and wait approximately 10 seconds. Then click Start if necessary and wait approximately another 10 seconds.
Click Open Instance to open a new tab. Use the Test User Email and the Test User Password.
You can click the Remember me checkbox so you don't have to fill in your login details again each time.
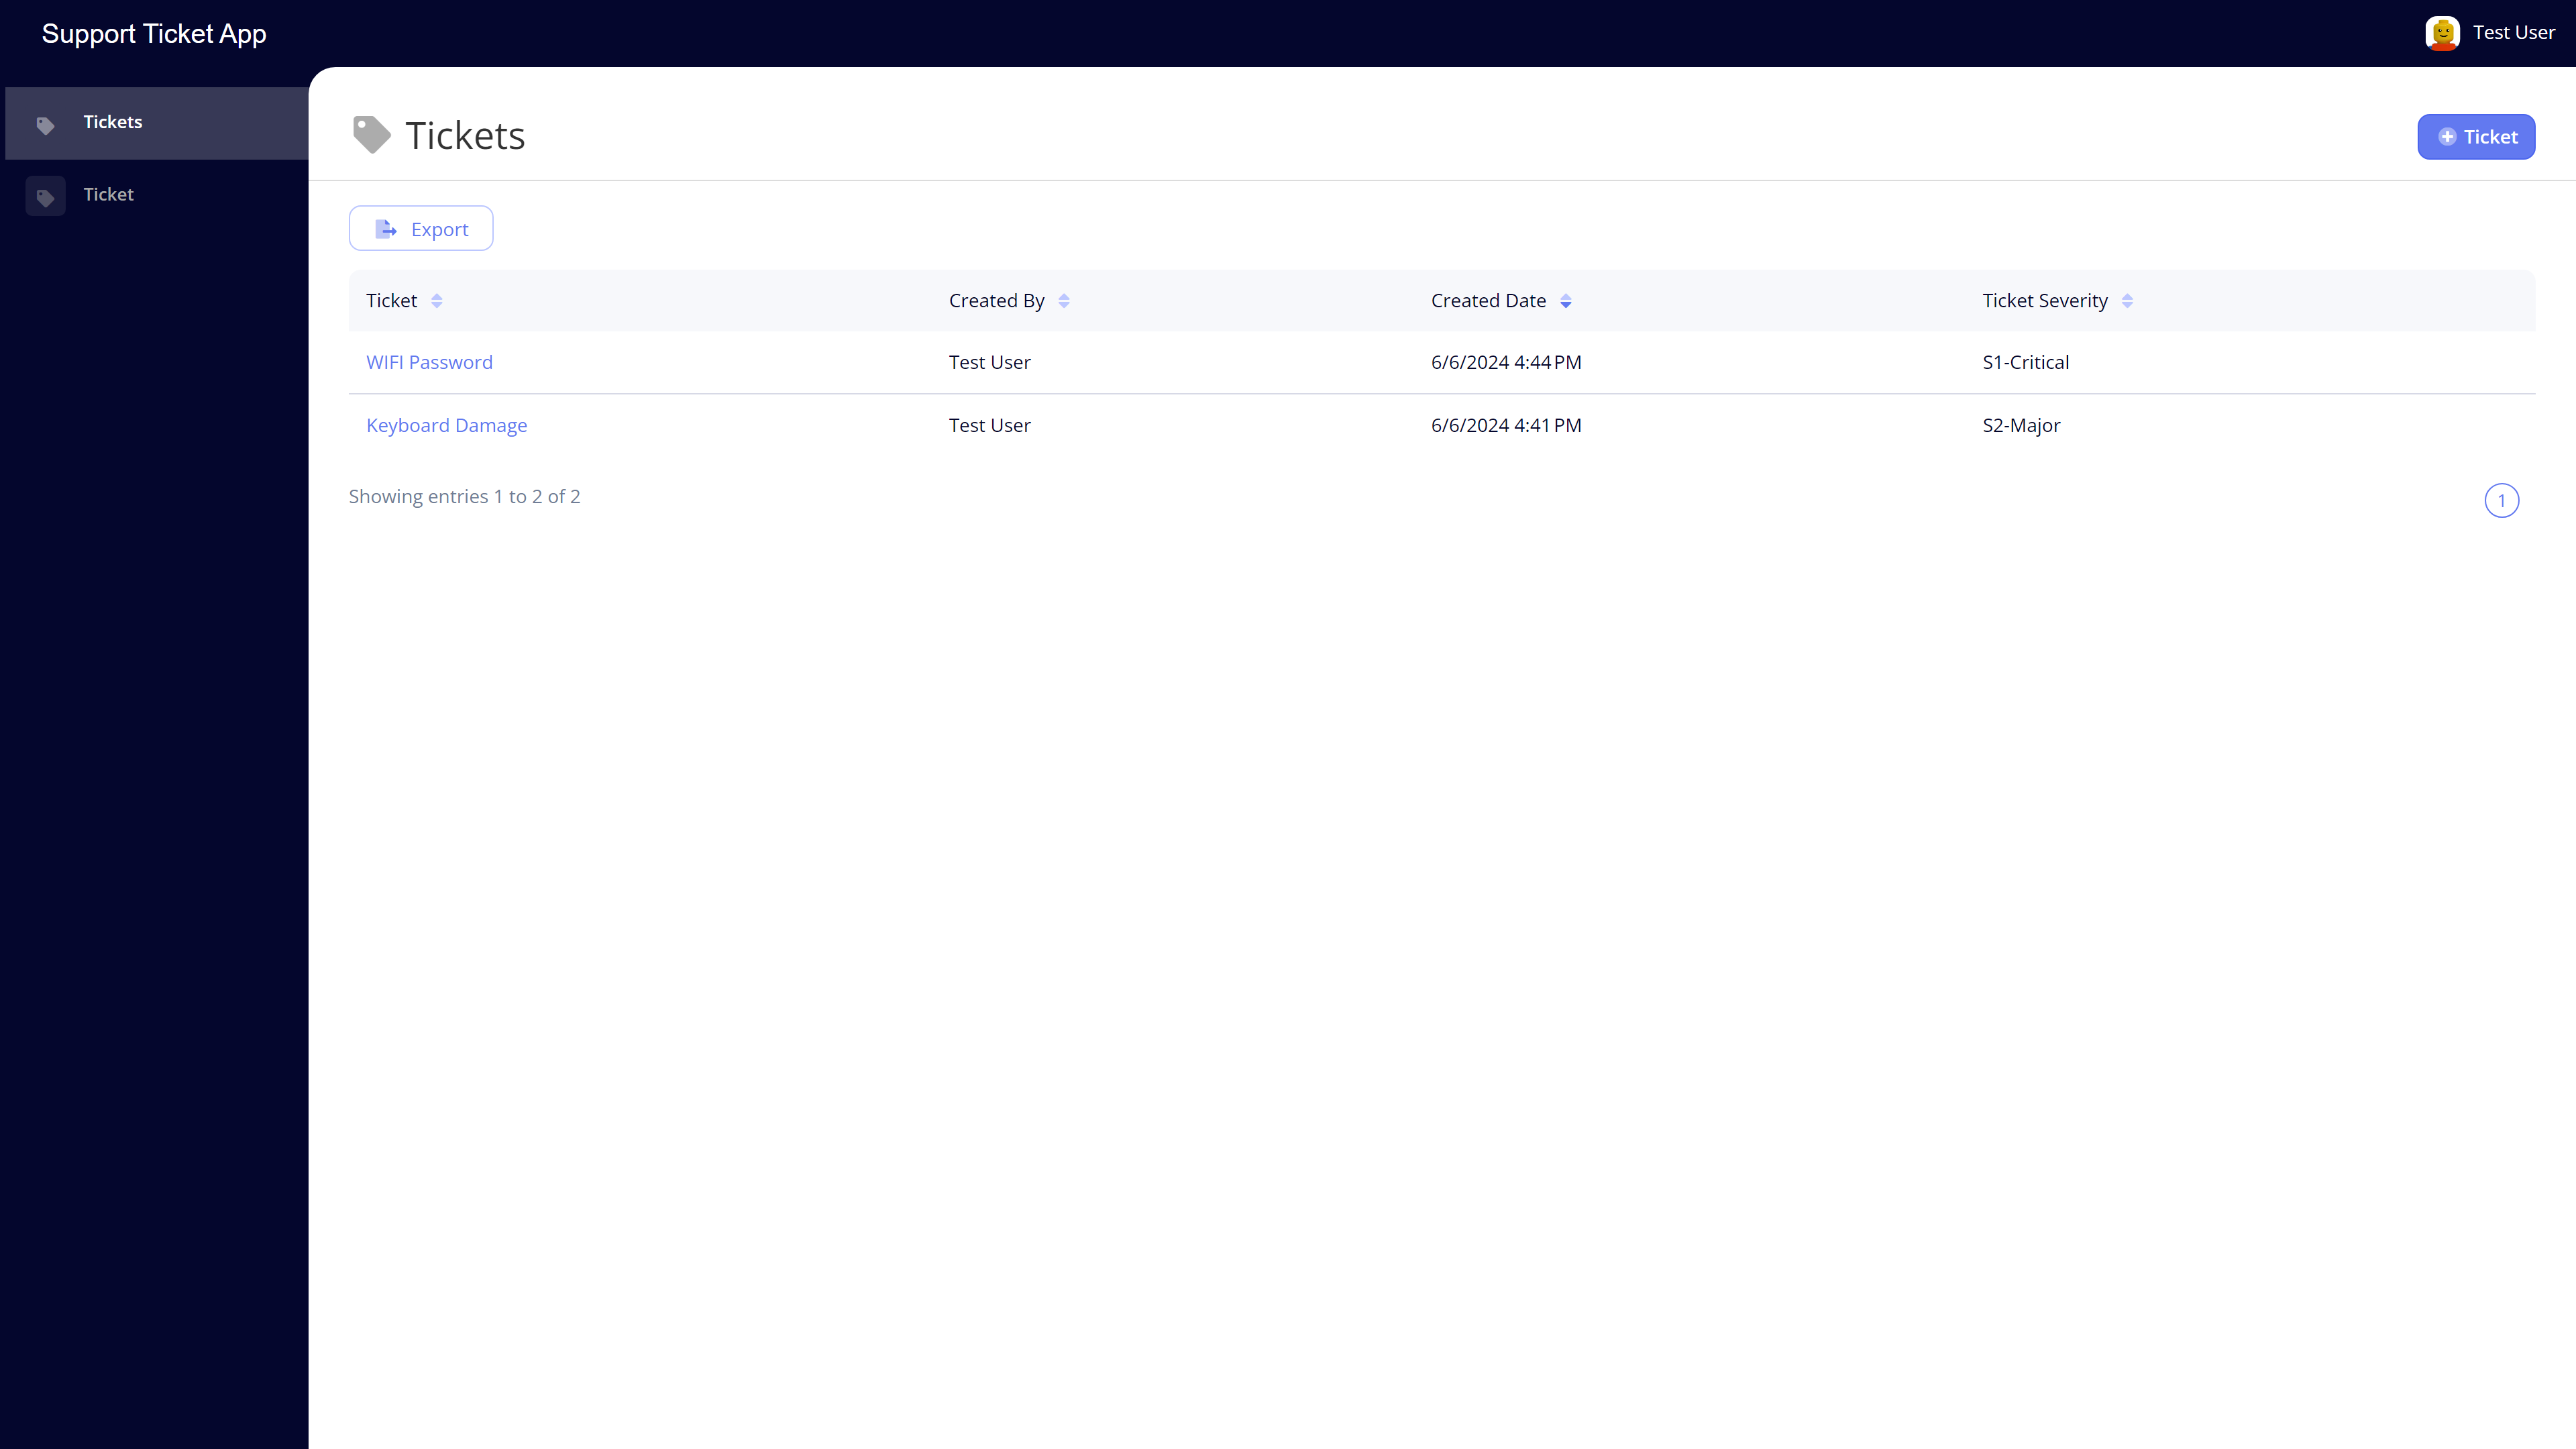  
 
 
This Support Ticket Tutorial is just a simple onboarding app. Now, you know the basics to do so much more.
 
 
- Go back into your app and play around some more with the Jetveo App Builder. It’s your personal sandbox.
- Learn about how Development and Production instances differ.
- Use the Advanced Topics to add more to this Support Ticket app.