Entities Setup
Entities are the essential data structure of an application. They are used to store, manipulate, and query data within the app database.
The Entity is where the data is stored. Every entity has its own data table IQueryable<TEntity> representation in the Database parameter:
db.{nameOfEntity}Set.
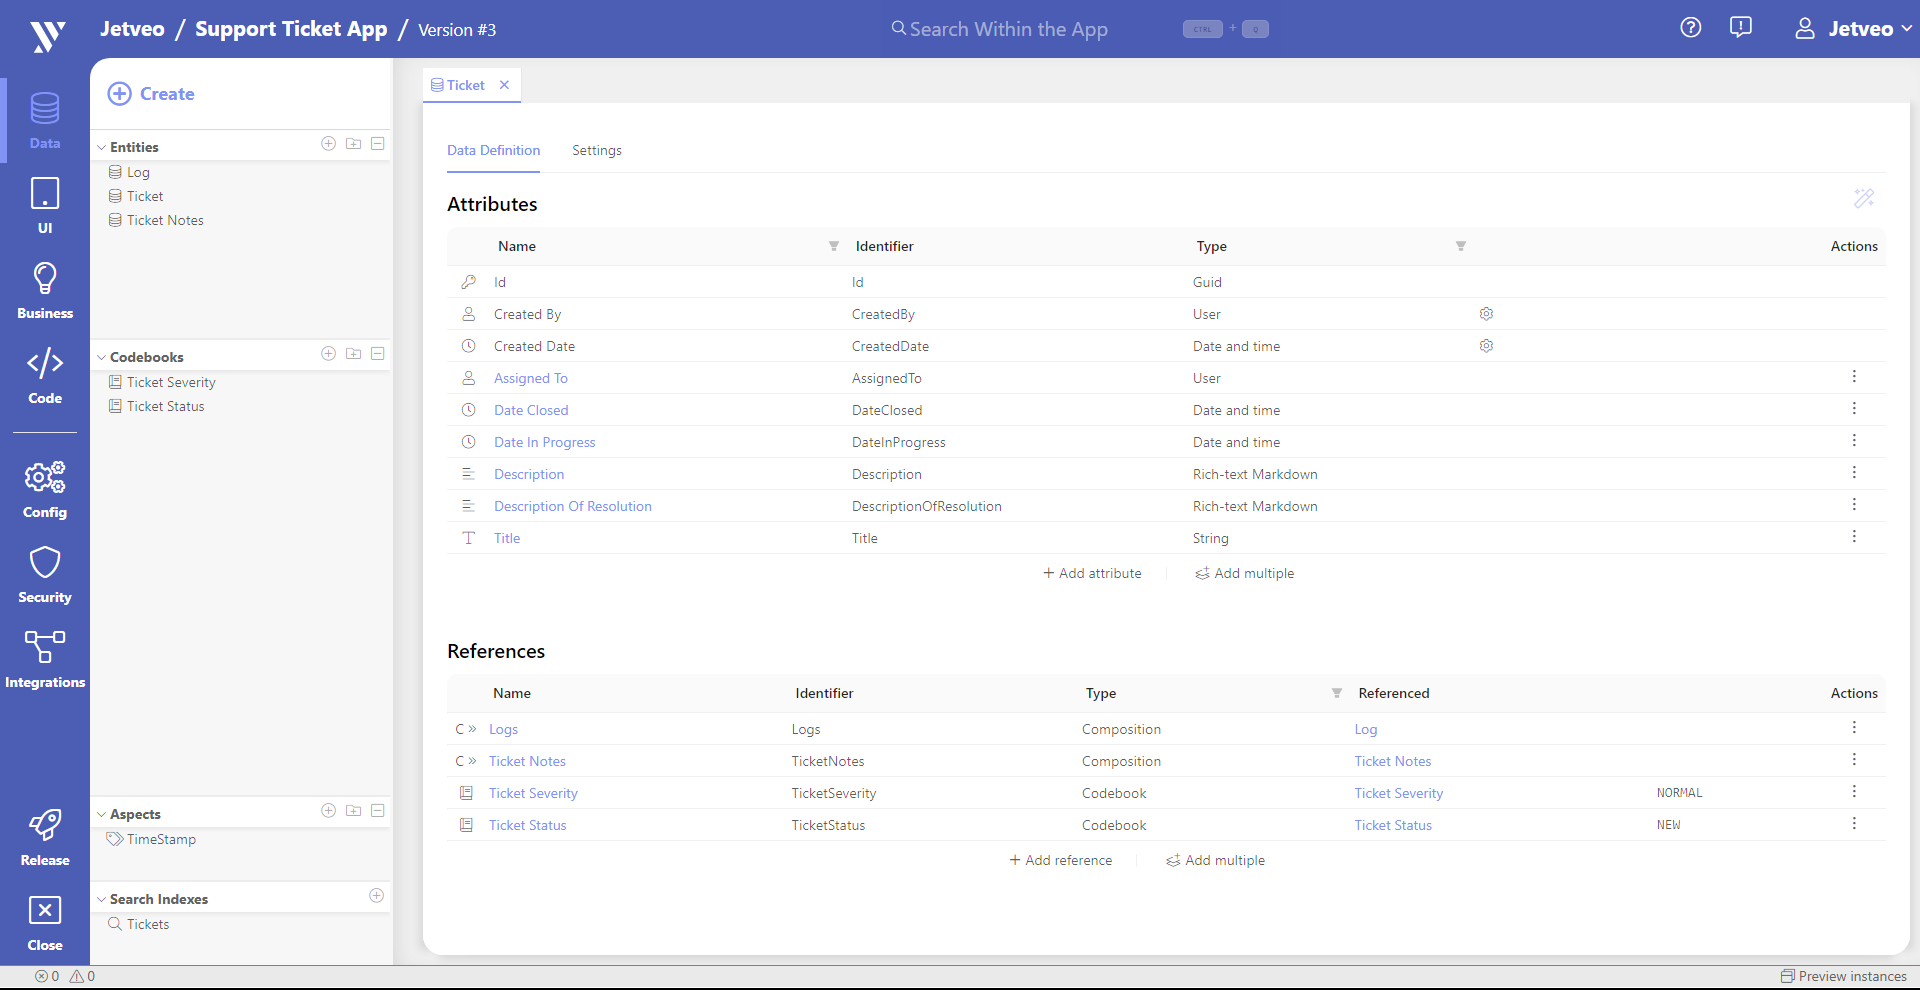
Here is an example of the Ticket entity from the Support Ticket Tutorial:
Create an Entity
On the Entities banner, click (+) to create a new entry. Or type Ctrl + Shift + C to access the general create dialogue. Entities can be organized in folders; this has no implication on code access.
There are two pages to the Entity Create wizard.

Settings
Name – Name of the entity, used in the title of the Create and Detail pages
Name (plural) – Plural of the entity name, usually used in the title of List pages (generated automatically from Name)
Code Identifier – Code representation (i.e., no spaces) for the entity (generated automatically from Name)
Inherited Aspects – Sets of attributes and/or references that the entity will inherit. These are established in the Aspects section.
User Interface
Display Icon – Default icon for the entity that is used in page headers. Choose from dozens of icons.
Automatic Actions (1)
Create Display Attribute – Creates a text attribute that will be used as a display expression. (Name is preset, but you can change it or you can also create an entity without a display attribute.)
Click Next
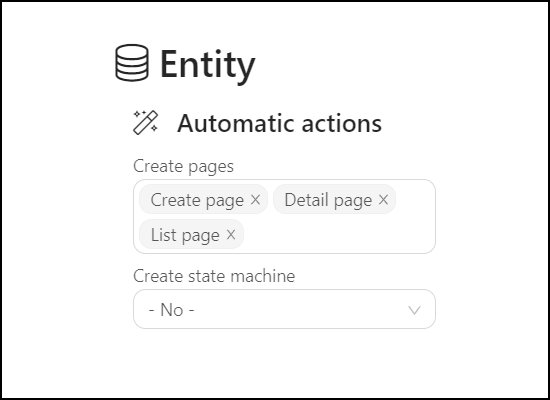
Automatic Actions (2)
Create Pages – Automatically create selected pages that will be used in the User Interface section: Create Page, Detail Page, and/or List Page. Unselect the individual pages if they are not necessary.
Create State Machine – Select a codebook to be used as a state machine for the entity. State machines are used to define workflows; they are established in the Business section.
Entity Attributes
After creating an entity you usually need to add some attributes that determine its properties in the database or within a string of characters in a display. Go to the Data Definition tab (the default setting).
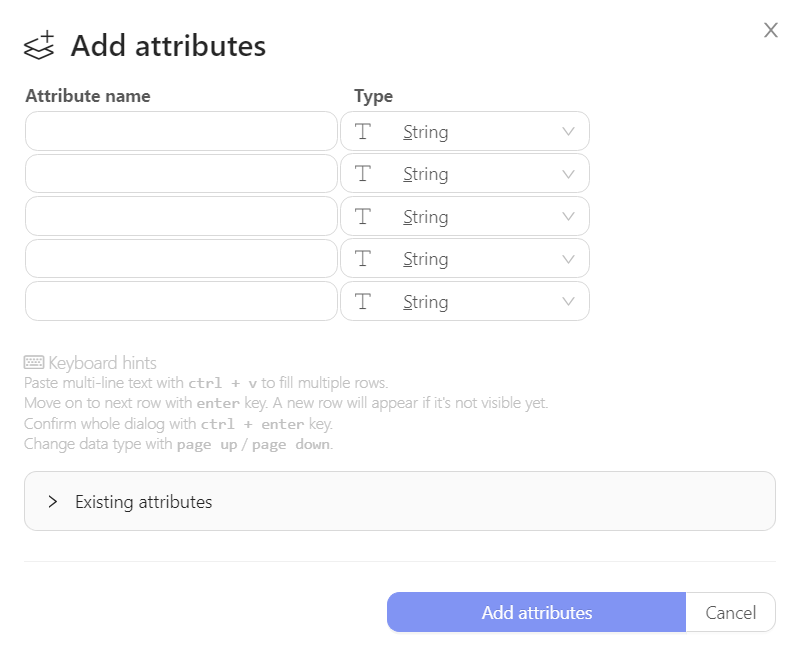
Click “Add attribute” to add one attribute or “Add multiple” to add multiple attributes in one window.
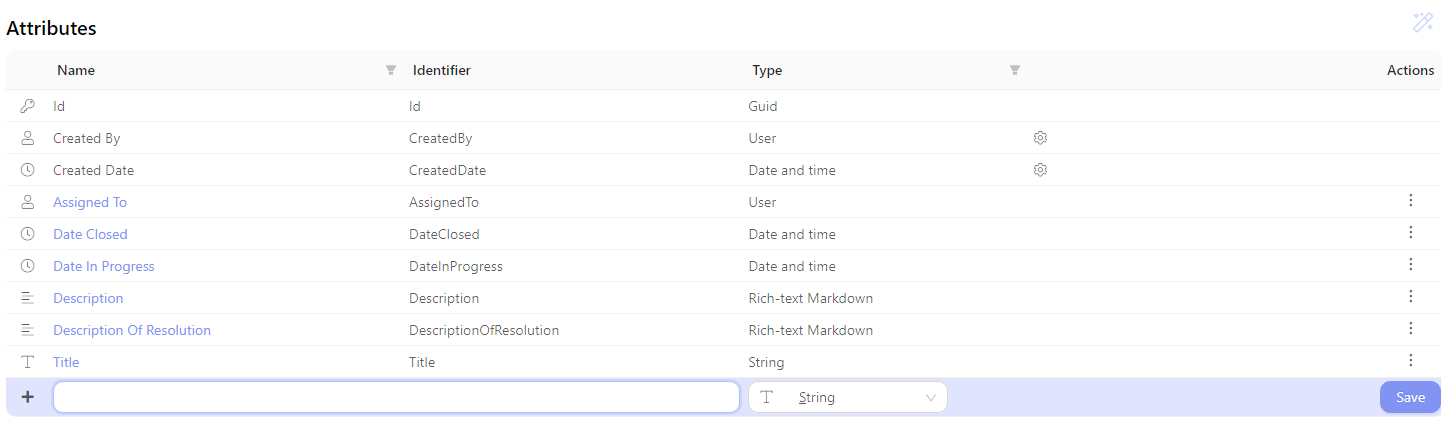
Attribute Name – Type the name that will be used.
Type – Choose from String, Rich-text Markdown, Rich-text HTML, Integer, Decimal, Boolean, Date, Date and Time, Document, and User. The underlined letters that are shown in the user interface are shortcuts. Both “Date” and “Date and Time” can be set to allow null values.
Existing Attributes – Click to see the attributes that already exist to help you determine the necessity for additional ones in the grid above.
Edit Attribute
After creating an attribute, you can further edit it. Click on the attribute name or click (⋮) at the far right of the grid and then click Edit attribute. This popover will appear:
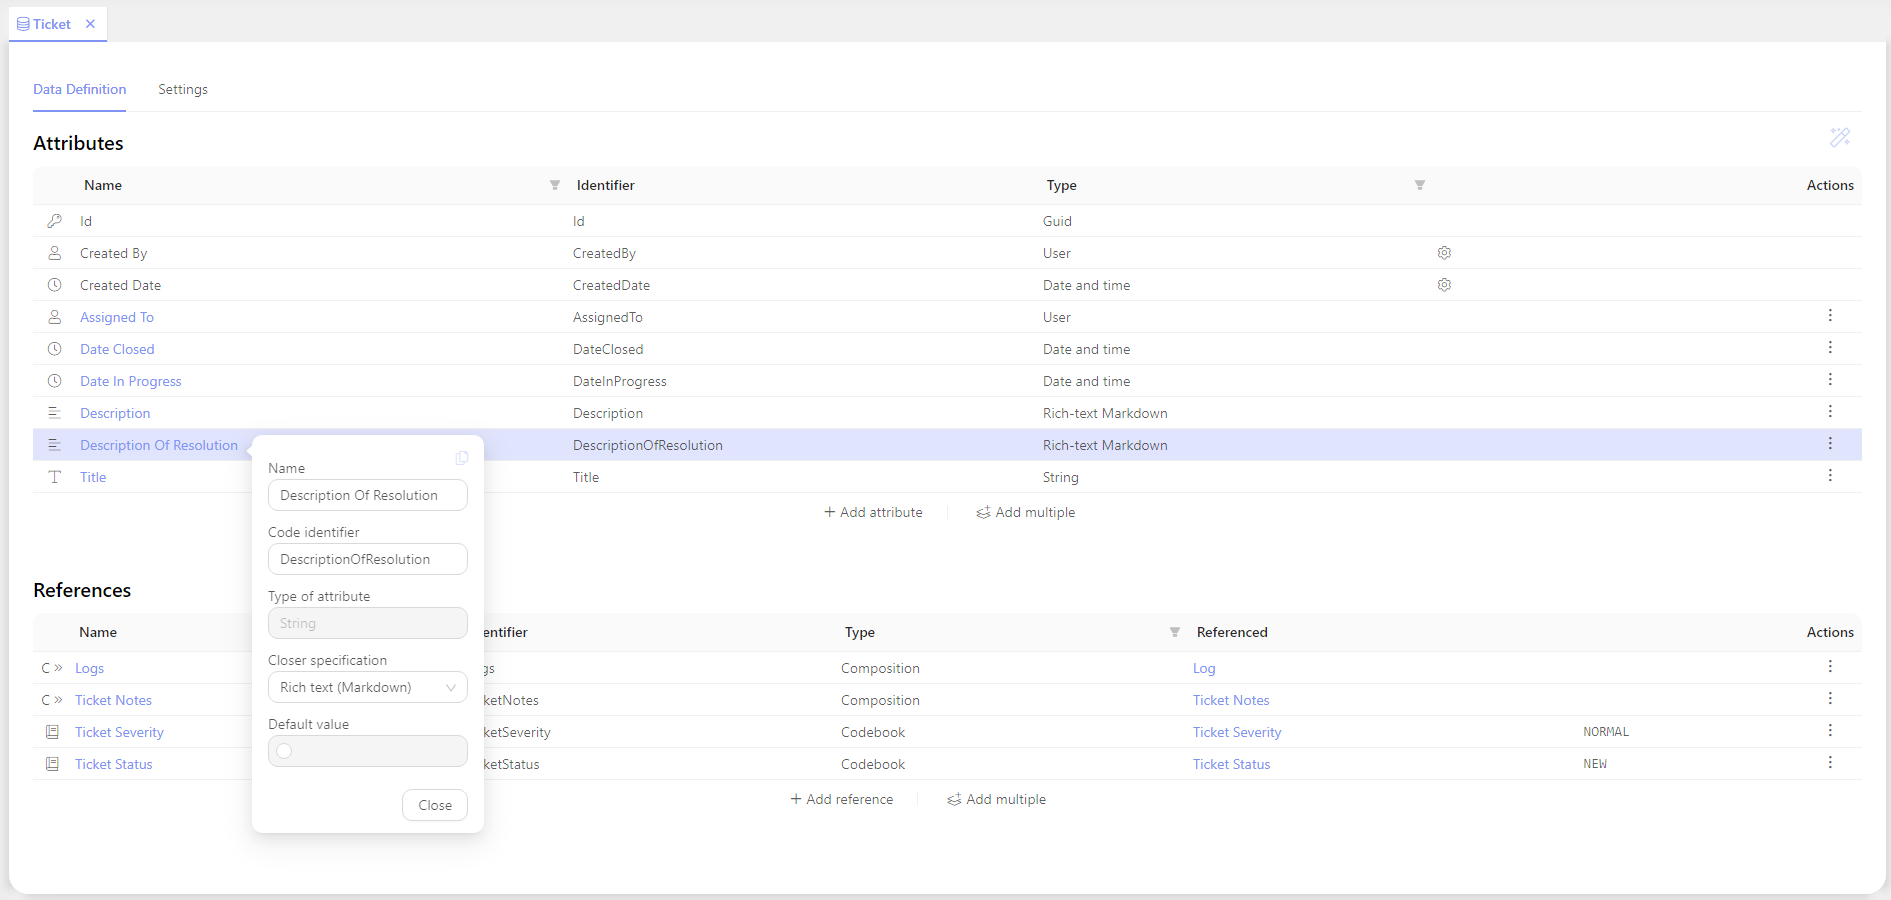
Name – The name for the attribute.
Code Identifier – The code for the attribute.
Type of Attribute – Select from String, Boolean, Date and Time, Rich-text Markdown, Rich-text HTML, Integer, Decimal, Boolean, DateTime, Integer, Decimal, Special – Document, and Special – User. Some options require additional information in the Closer Specification section below.
- Attribute of type Document has a checkbox
Allow public document accessin its settings. It allows unauthenticated users to access the document and its revisions on public page.
Closer Specification – Additional settings for some of the “Type of Attributes” above.
Default Value – Defines the expression that is evaluated when a new empty instance of an entity is created. The result is then assigned to the attribute before Suggested Values from UI components are evaluated.
- Example 1: a new piece of data may require the user to be attached with the following code:
ctx.User. - Example 2: a new piece of data may require a creation date and time with the following code:
DateTime.Now.
If the default value is set, a gear icon appears in the row of the attribute.
Copy Attribute
To copy an attribute click copy icon in the upper right corner of the popover. A window will then appear where you can select which data from the attribute you want to copy:
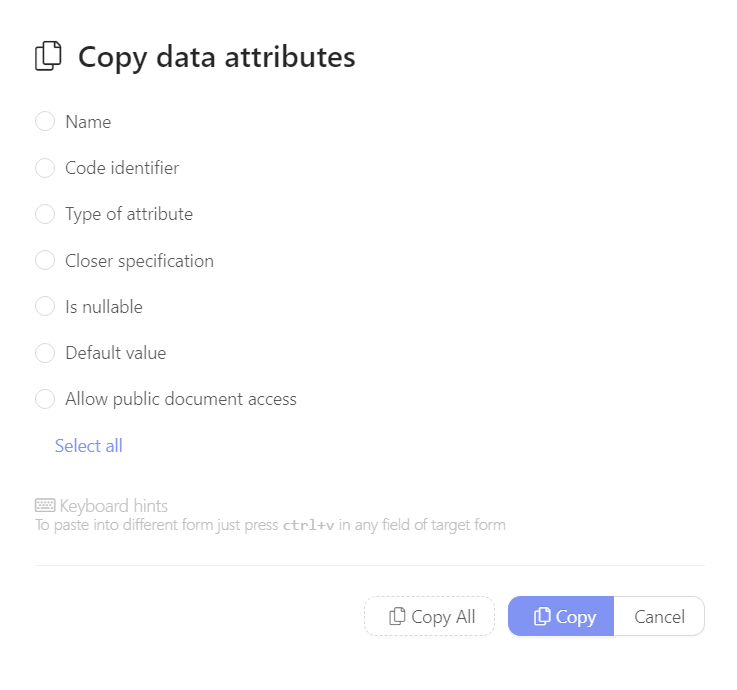
Once you have the data copied, you can paste it into the edit popup of any attribute.
Delete Attribute
You can also delete the attribute. Click (⋮) at the far right of the grid and then click Delete.
Be careful if the attribute has already been rolled out, deleting it could lead to data loss.
Entity References
References provide additional definition for the entities.
Click “Add reference” to add one reference or “Add multiple” to add multiple references in one window.

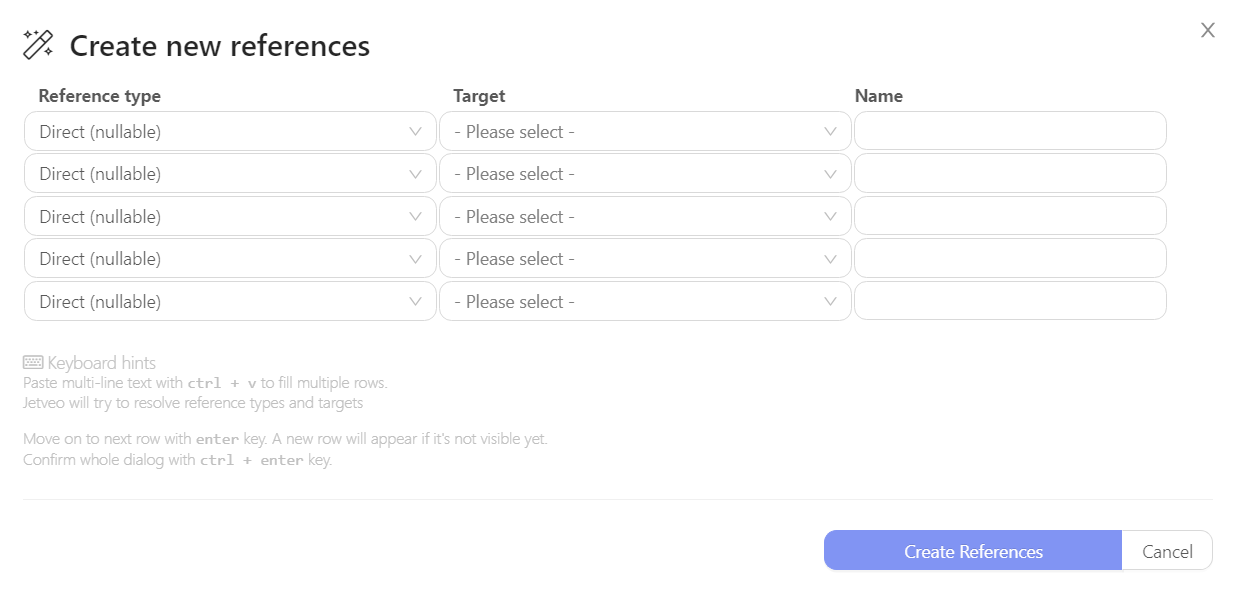
Reference Type – Select from the drop-down menu: Direct; Direct (nullable); Composition; Aggregation; Many-to-many; Codebook; or Codebook collection.
Target – Select the target for the reference from the drop-down menu. (entity or codebook depending on the “Reference Type”)
Name – Enter the name to attach to this reference. In the “Add multiple” window a version of the value shown in “Target” is automatically generated (either singular or plural, depending on the type of reference).
You can edit and delete references just like attributes.
As with deleting an attribute, be careful if the reference has already been rolled out, deleting it could lead to data loss.
Reference Types
| Relationship | Cardinality | C# type | Meaning |
|---|---|---|---|
| Direct nullable | 0..1 | Entity? | Referenced entity can be assigned to the reference |
| Direct | 1 | Entity | Referenced entity must always be assigned to the reference |
| Composition | 1 -> N | ICollection<Entity> | One parent has many children |
| Aggregation | 0..1 -> N | ICollection<Entity> | Children can have one parent or no parents |
| Many-to-Many | M -> N | ICollection<Entity> | Many children can have many parents |