(5) Entity Relationships
- Support Ticket Tutorial -
Add Ticket Notes
Some Support Tickets are complex. This Advanced Topic will enable a user to write instructions or provide notes for how the issue should be resolved. This will be done with an Entity Reference to the Ticket entity to enable us to better structure our data.
1. Create a Ticket Notes Entity
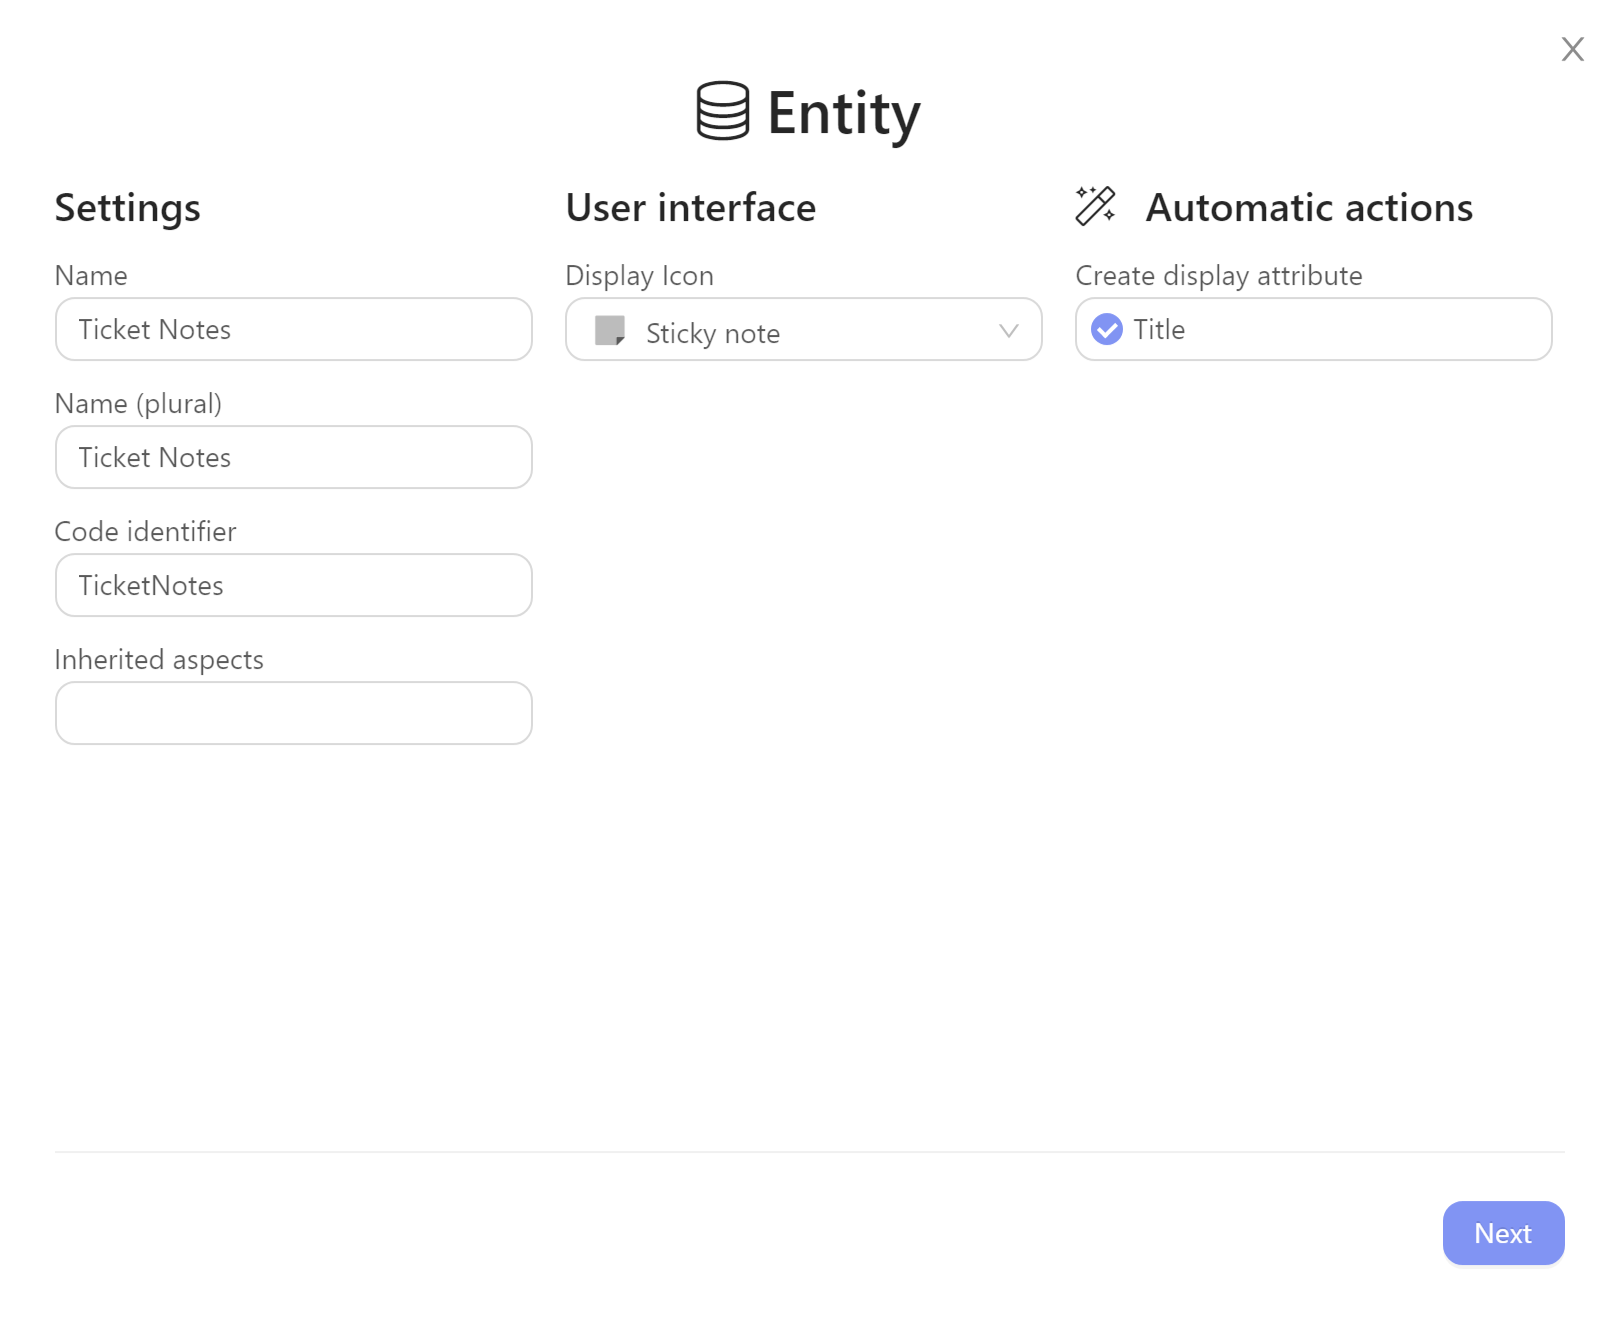
This step will create a new entity named “Ticket Notes”. The Composition reference type (1 -> N) will be used to allow a single Support Ticket to have multiple notes.
- Create a new entity. Type:
Ctrl + Shift + Cto open the general Create Dialogue; select Entity. Nameyour Entity: Ticket Notes- Set the
Display Icon. (Suggestions: Use “Sticky Note”.) - Mark the
Create Display Attributecheckbox if necessary. Click in the text box. Type: Title. This will create an attribute and set it as the display expression for entity records. - Click
Next.
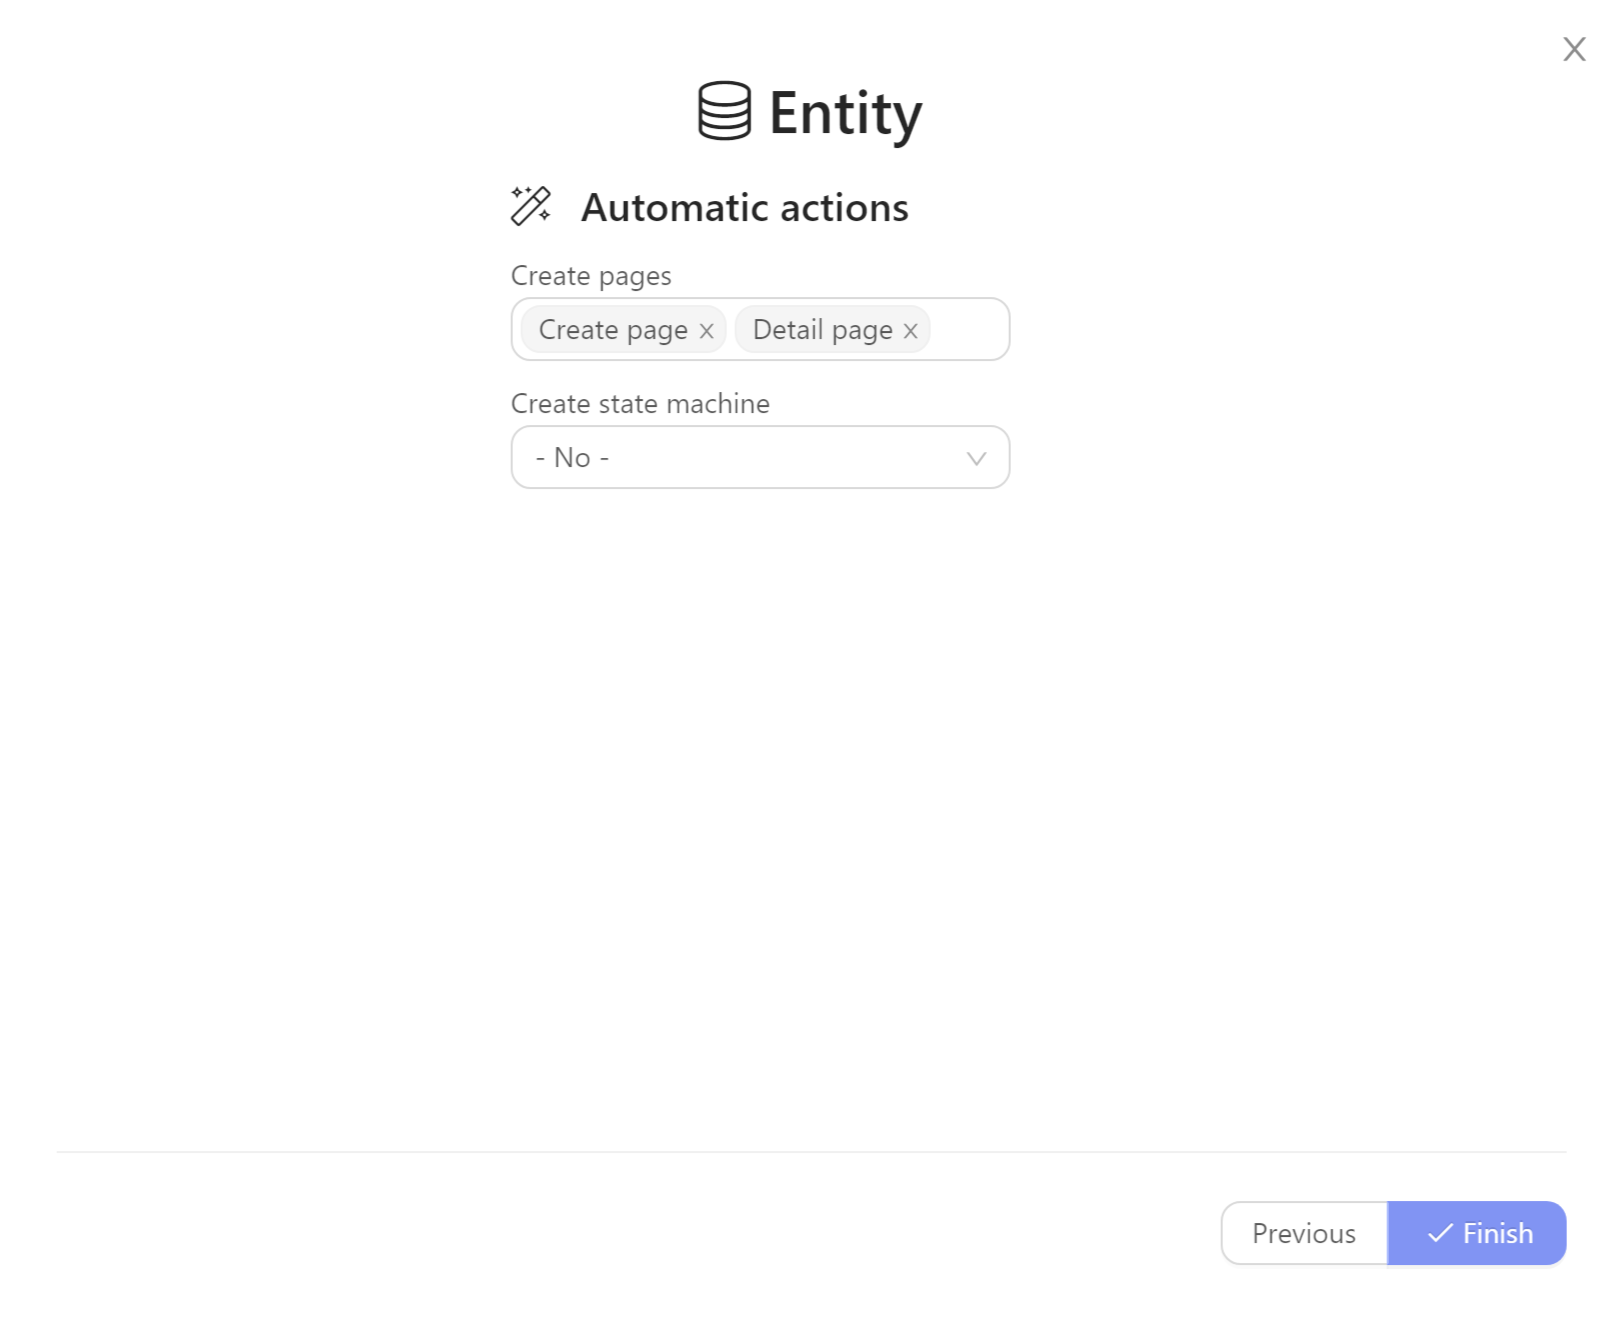
- Inside the Create Pages box, keep the Create Page and Detail Page; un-select the List Page. This will generate two pages for the User Interface section (see below)
- Click
Finish - Save Changes:
Ctrl + S
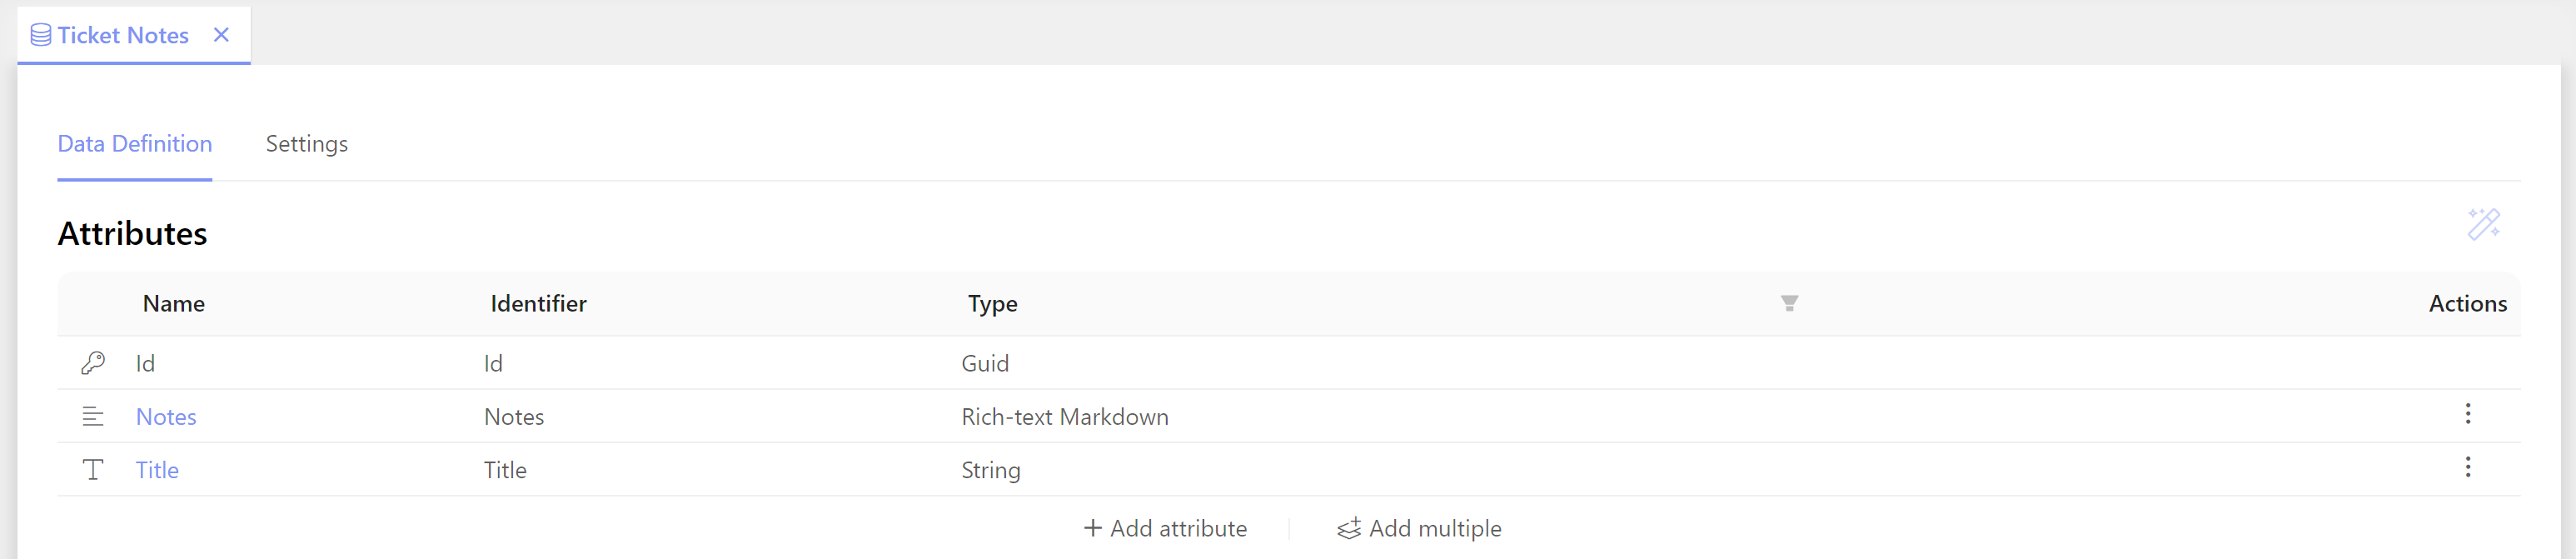
2. Add Attributes to the Ticket Notes Entity
- In the Data Definition > Attributes section, click
Add Attribute Nameit: Notes- Set
Typeto: Rich-text Markdown - Click
Save
3. Set References
- In the Data > Entities subsection, double-click the Ticket entity
- In the Data Definition > References section, click
Add Reference - Set
Nameto: Ticket Notes. - Set the
Typeto: Composition. - Set
Referencedto: Ticket Notes. - Click
Save. - Save Changes:
Ctrl + S
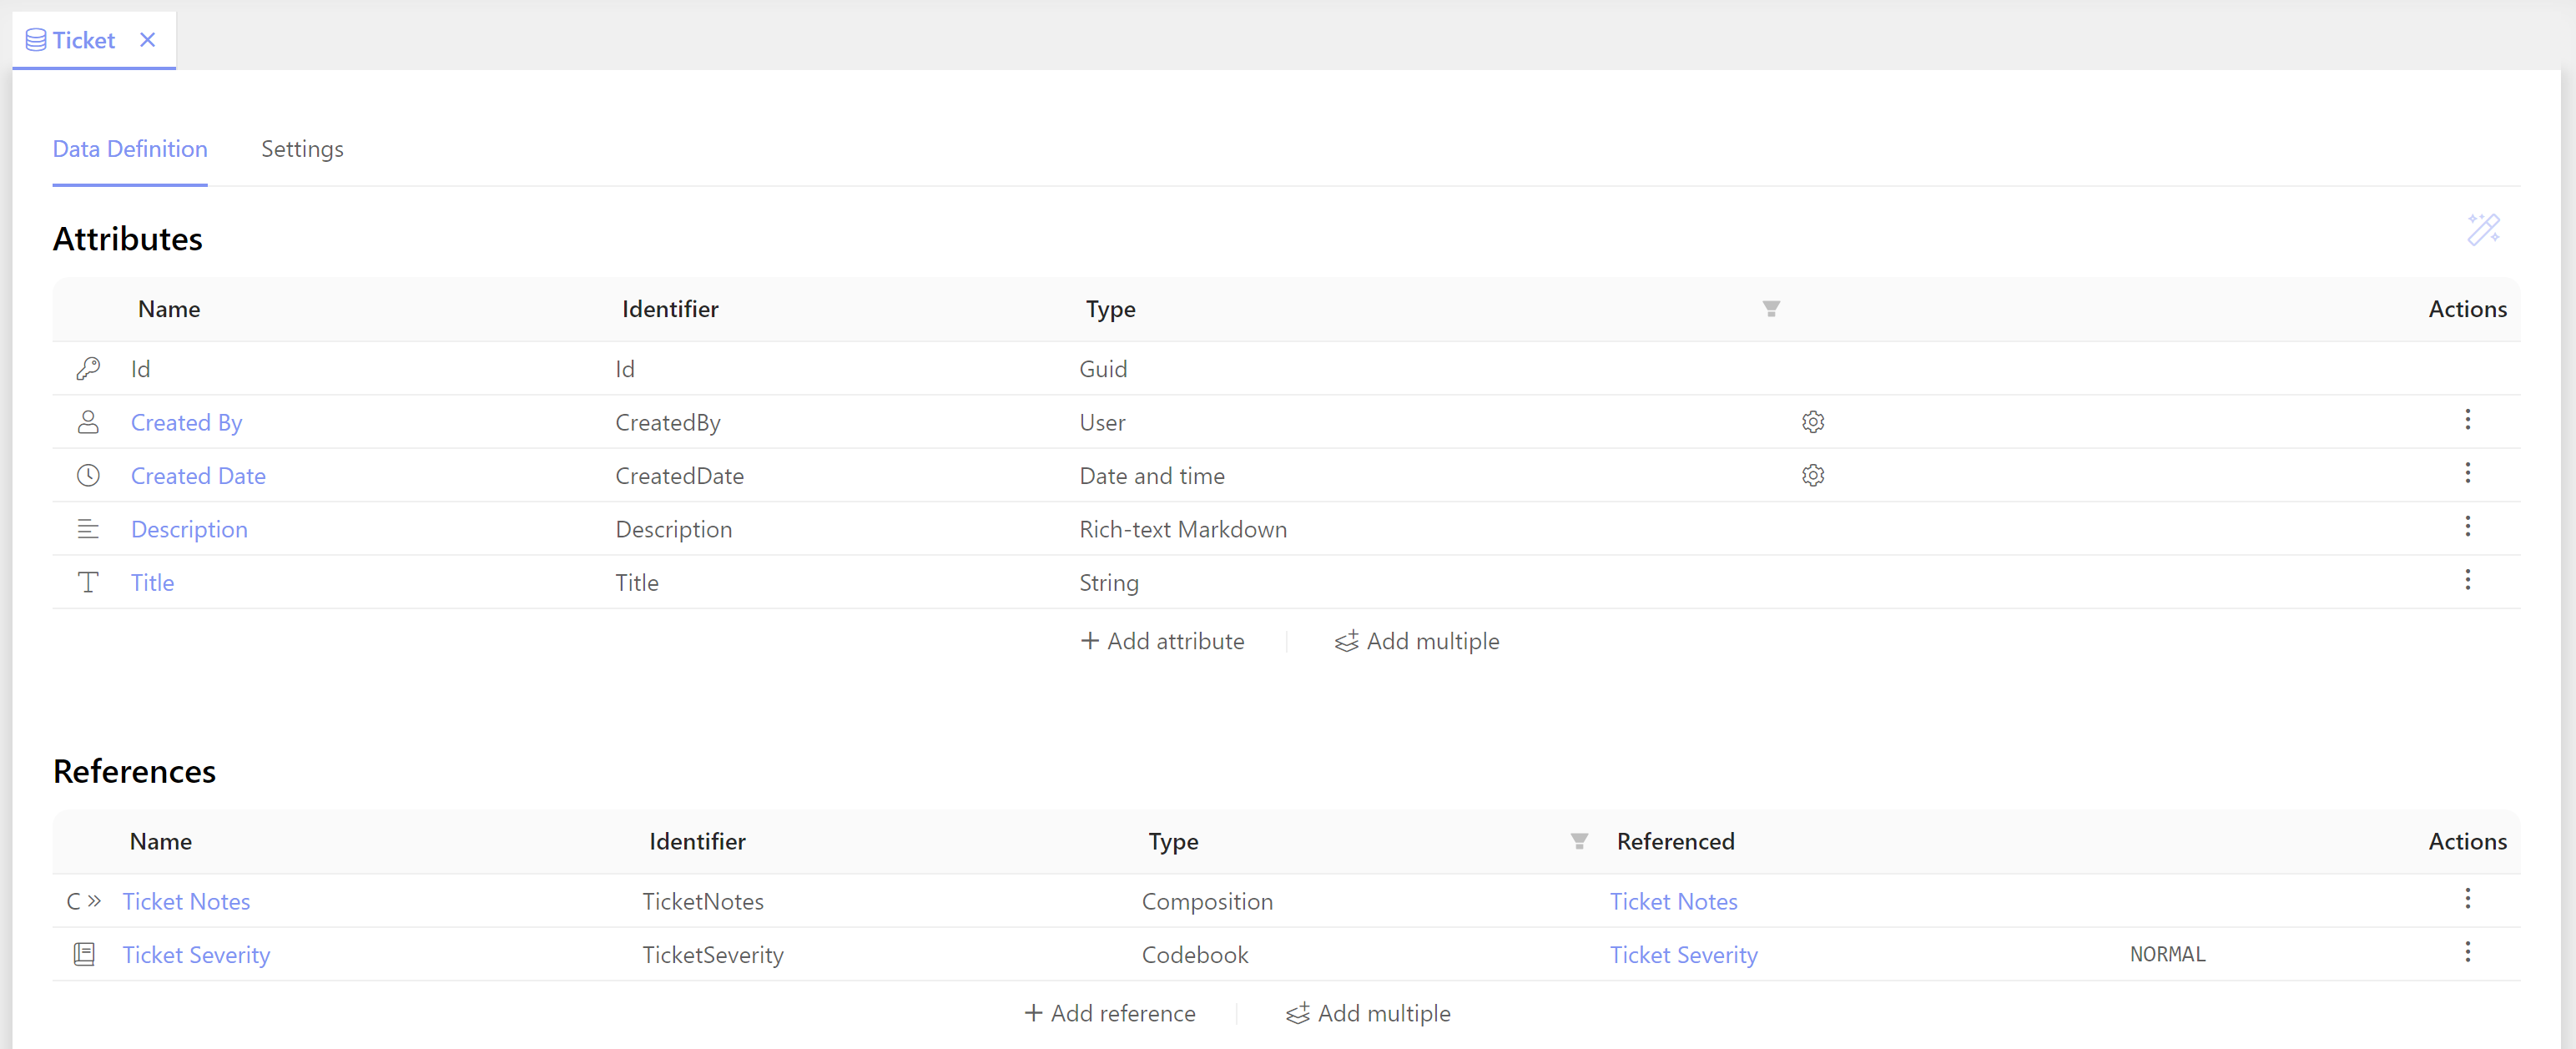
This automatically establishes the relationship between the entities. The Ticket entity is the parent and it can take several notes. The Ticket Notes entity is the child; there can be multiple children but all will be connected to the same parent.
See an overview of all reference types, if you're interested.
4. Update the User Interface
Go to UI > Entity Pages and double-click on the pages below to update them with the Ticket Notes attribute.
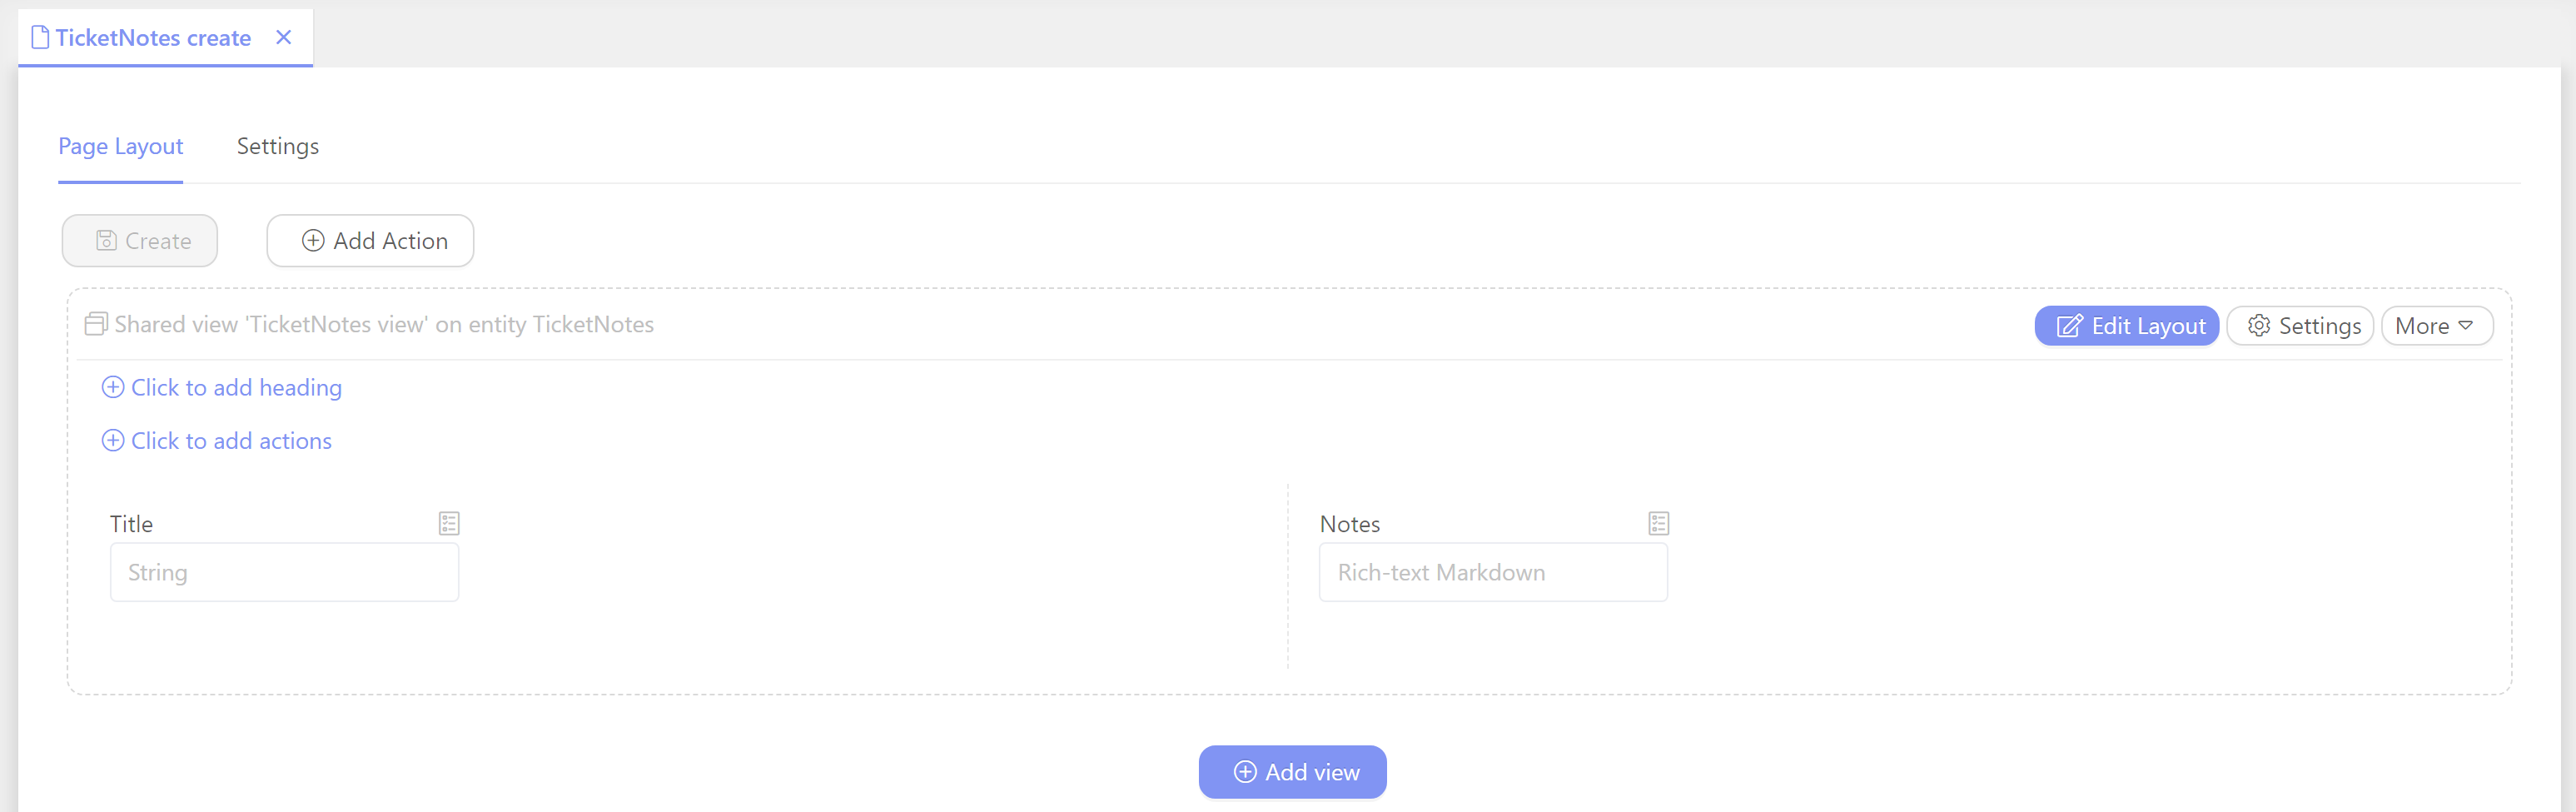
A. TicketNotes Create Page
- Click
Add View - Click
Create Empty View for Ticket Notes - In the layout editor add Data Fields. Click Title and Notes
- Click
TitleData Field - In the Validations section, click the
Magic Wandgraphic and select: Not empty string- This creates a Validator that ensures that each Ticket Note has its
Titlefilled in
- This creates a Validator that ensures that each Ticket Note has its
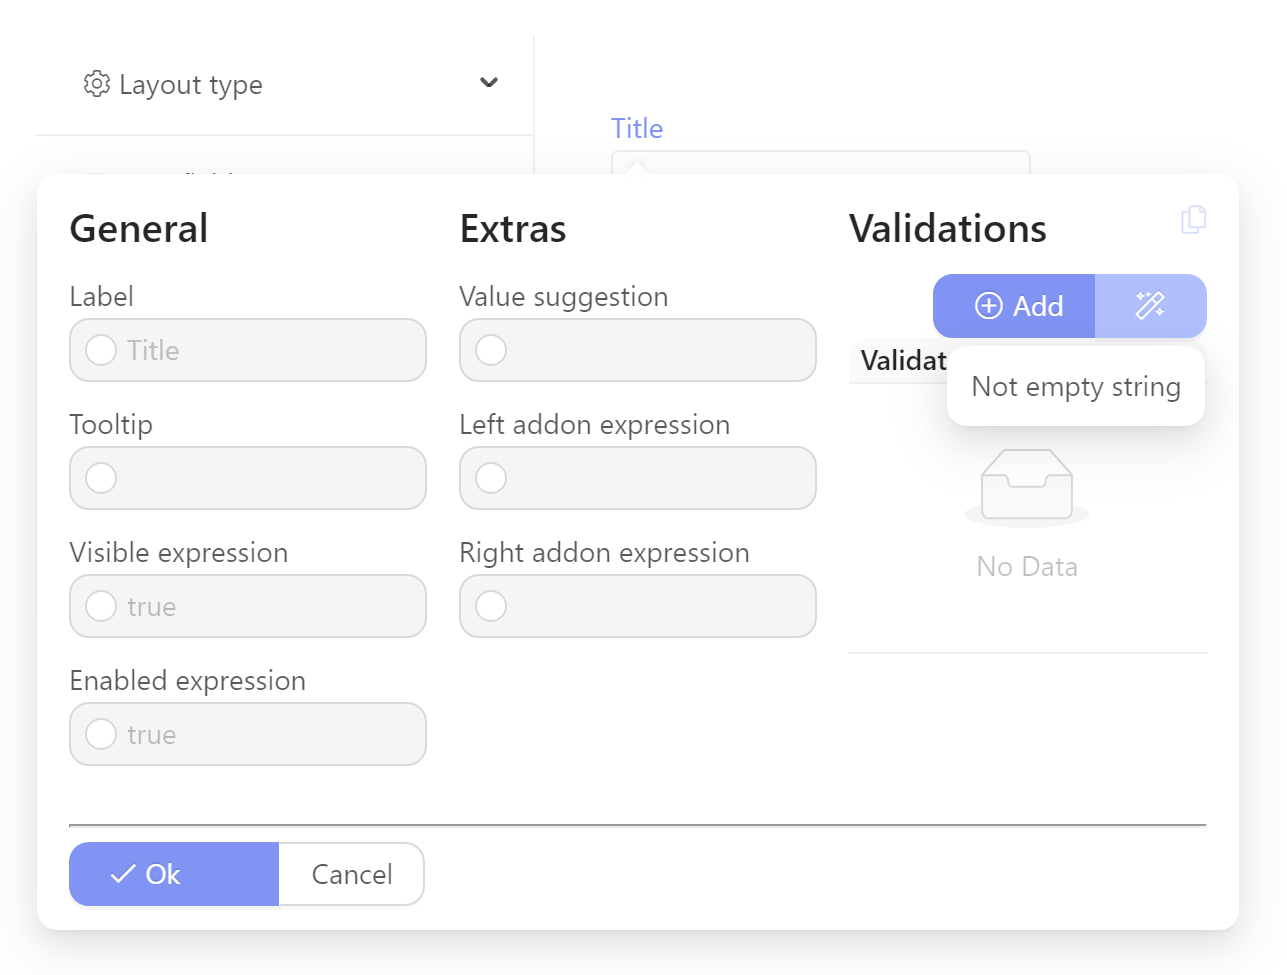
- Click
OK - Click on
Notes - In the Validations section, click the
Magic Wandand select: Not empty string- This creates a Validator that ensures that each Ticket Note has its
Notefilled in
- This creates a Validator that ensures that each Ticket Note has its
- Click
OK - Click
OK
—
Set the Layout so that it can be Shared on the Detail Page - In the Layout section, click
More - Click
Make Shared - Click
Ctrl + S
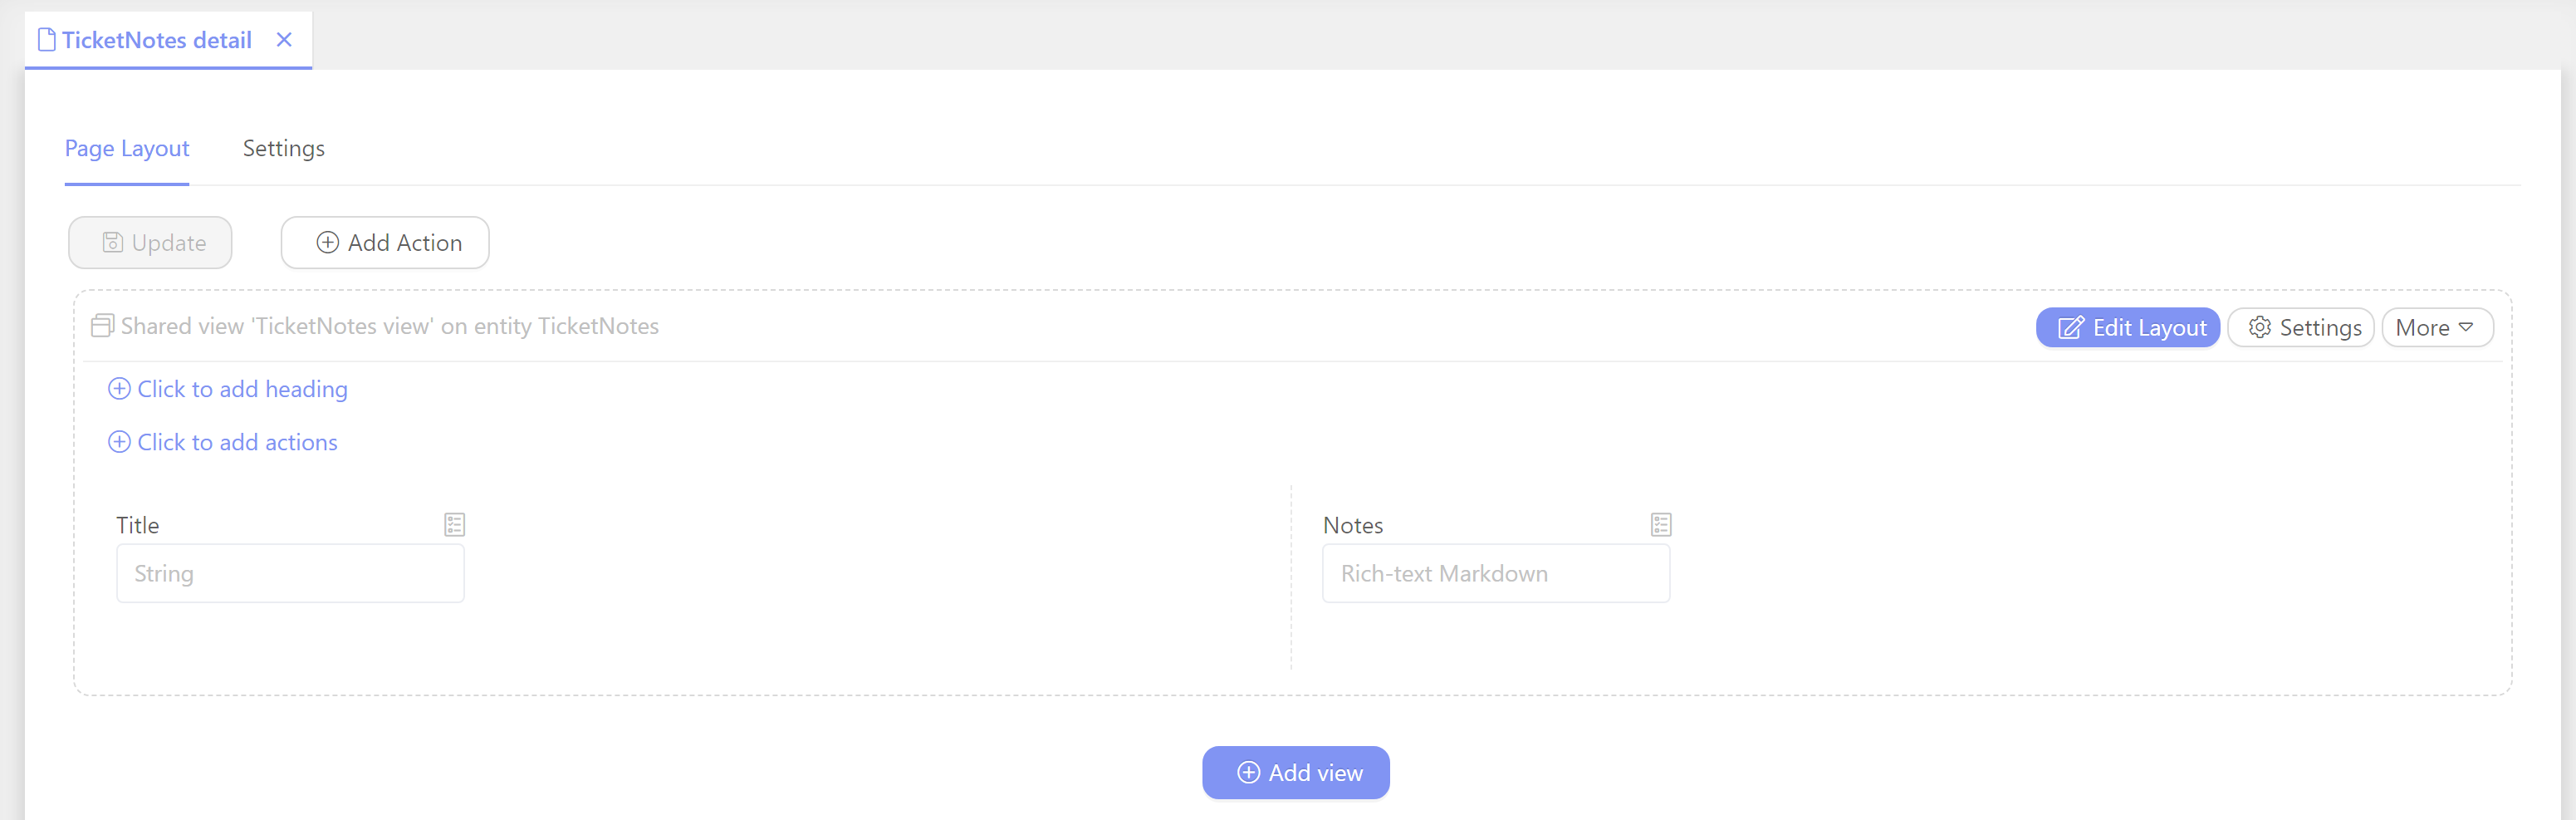
B. TicketNotes Detail Page
- In the center of the page, click
Add View - Click
Add Shared View for Entity Ticket Notes. This will place the related Shared View. - Save changes:
Ctrl + S
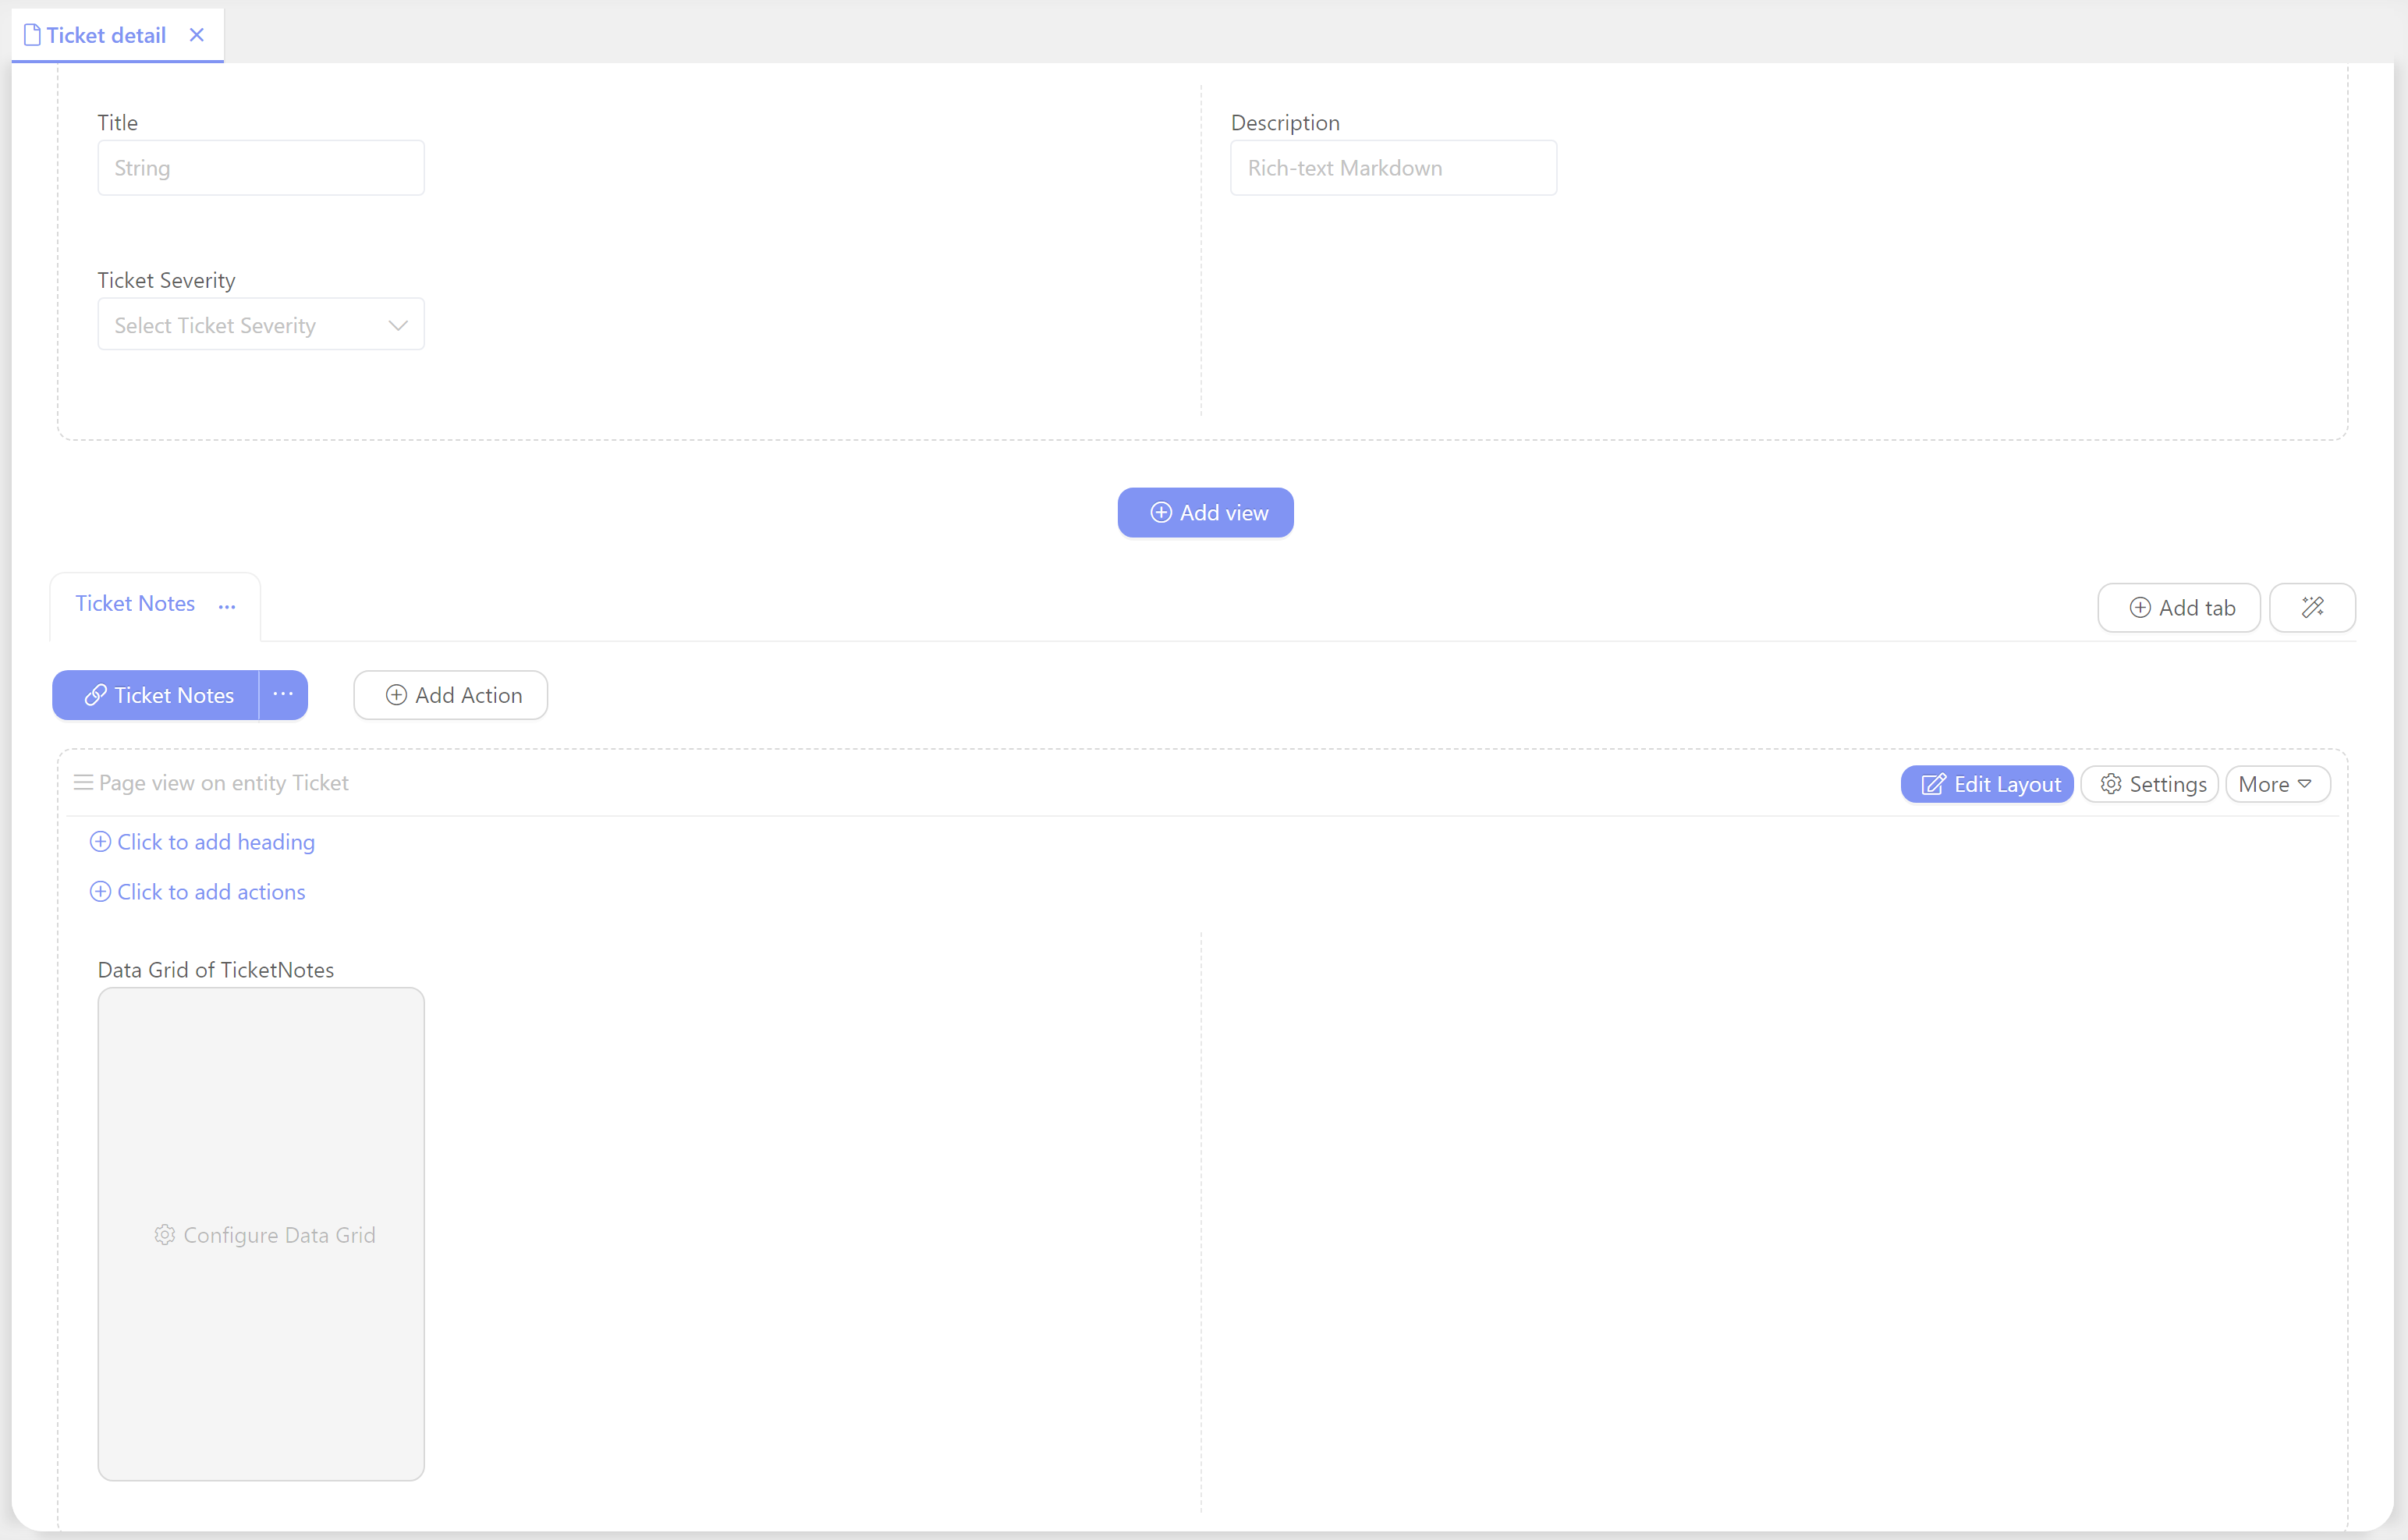
5. Update Ticket Detail Page
- Go to UI > Entity Pages and double-click on Ticket detail
- In the Layout section, click the Add Tab
Magic Wand(scroll down, on the lower right) - Hover over
Create Child List Taband select TicketNotes

- Click on the newly created created view to open the layout editor
- Click the
Data Grid of TicketNotesbox to configure the Data Grid - The
Columnstab is the default setting - Click
Add Column - Select Notes
- Click
Close
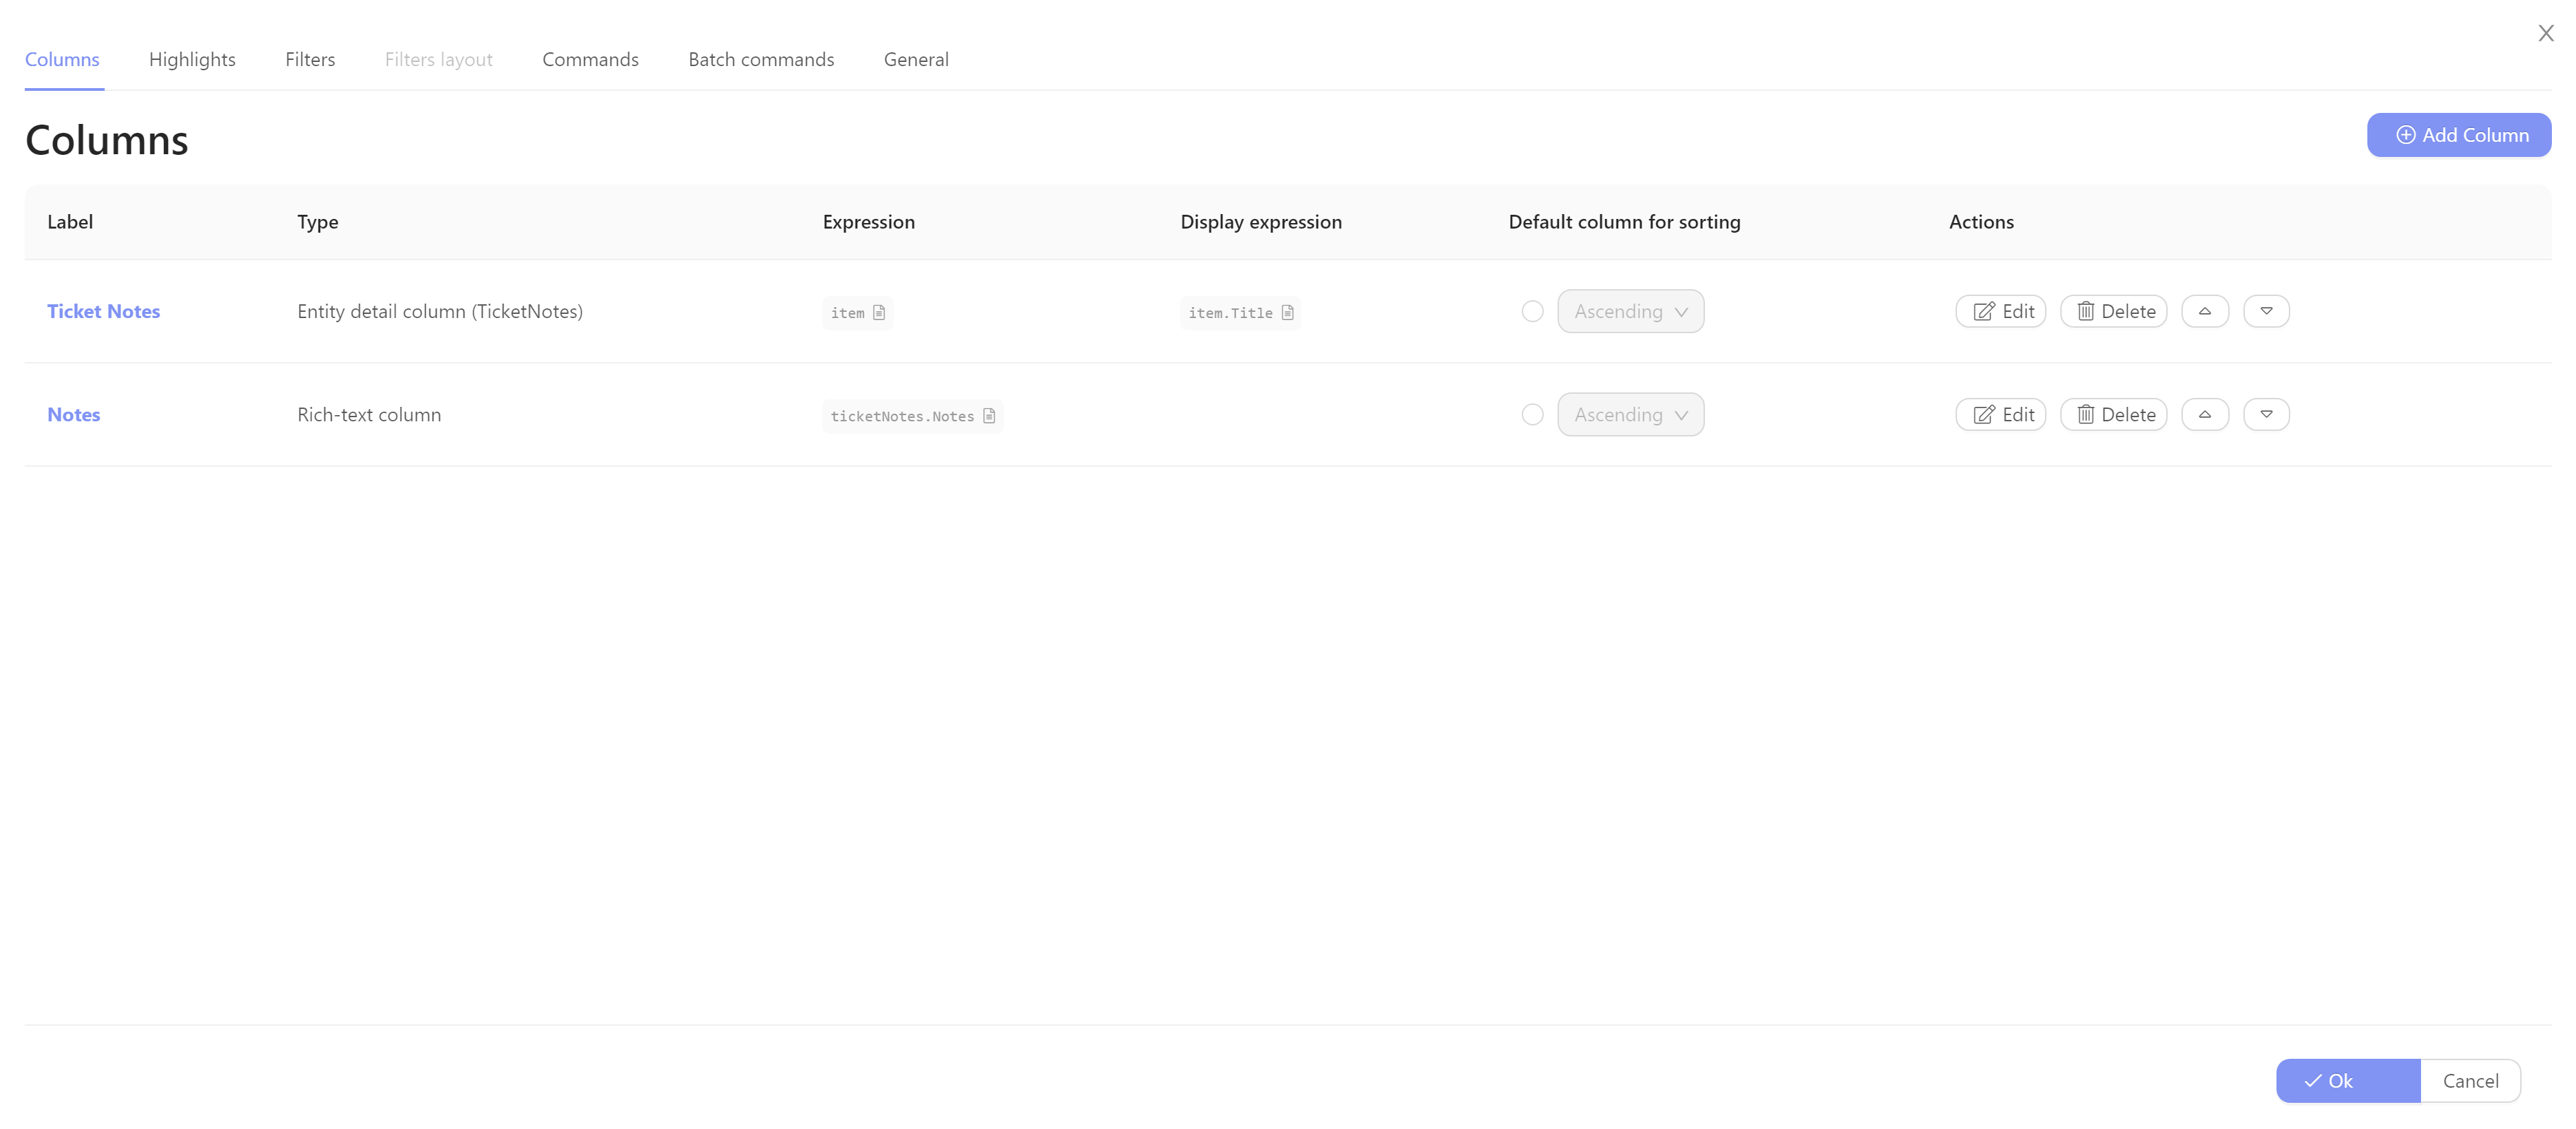
- Click
OK - Click
OK - Save changes:
Ctrl + S
6. Deploy and Run the App
- Click
Release - Type text for
Release Message, if necessary - Click
Release - Click
Continue
— - In the sidebar, click
Close
—
On the App Overview, - Click
Update App. It may take a few moments. - Click
Start(if necessary) - Click
Settingsfor login credentials (if necessary) - Click
Open Instanceto access your app